
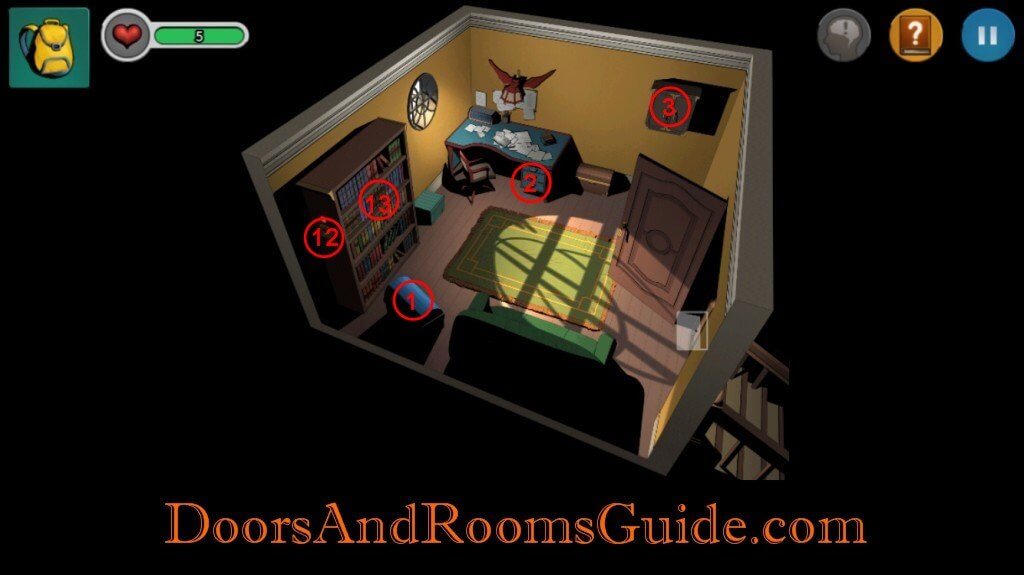
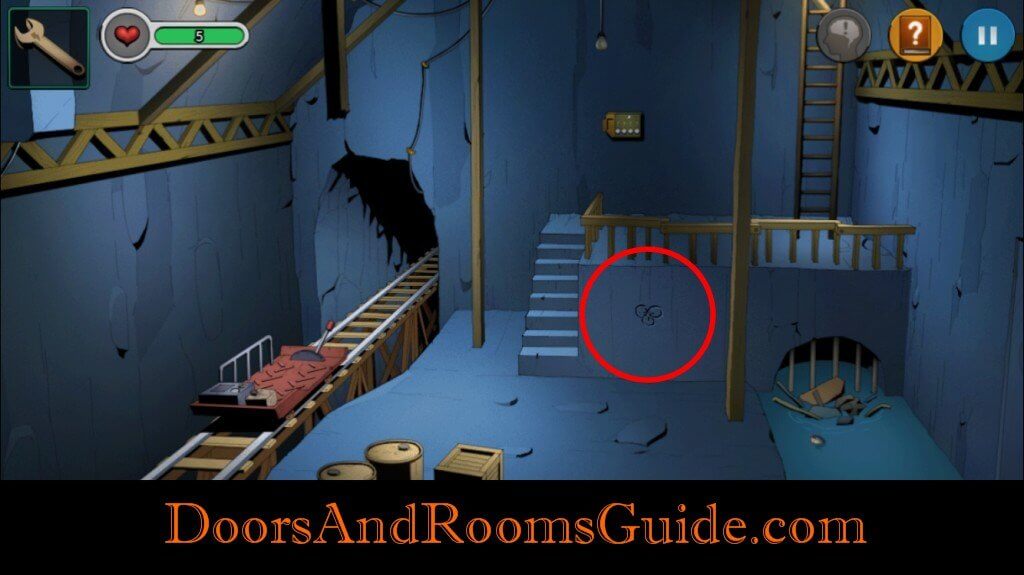
Stage 1-7 Map:
1-7 Walkthrough Item Index
1. Block
2. Basement Key
3. Solution
4. Knife
5. Cheese
6. Wine Opener
7. Basement
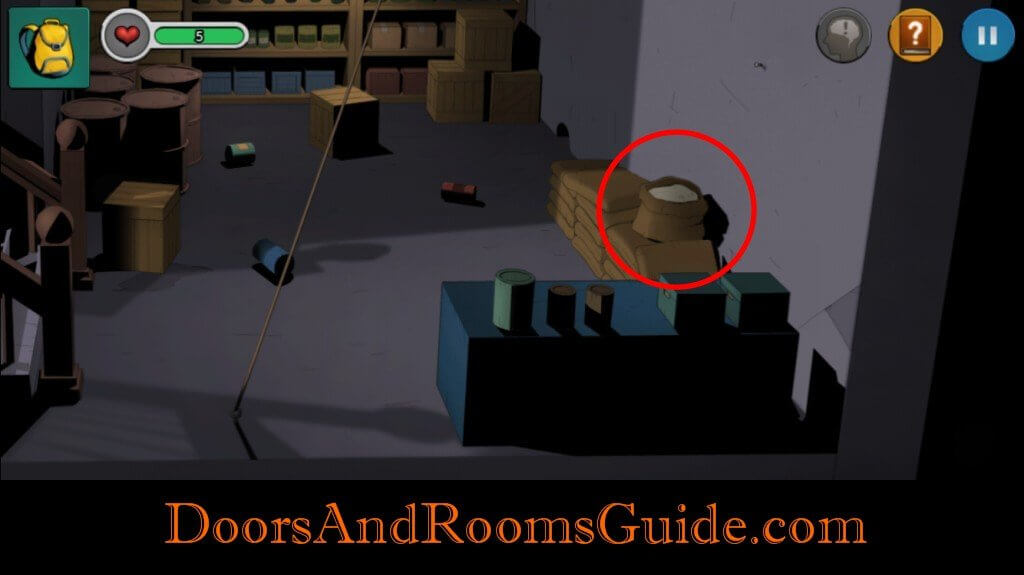
8. Flour
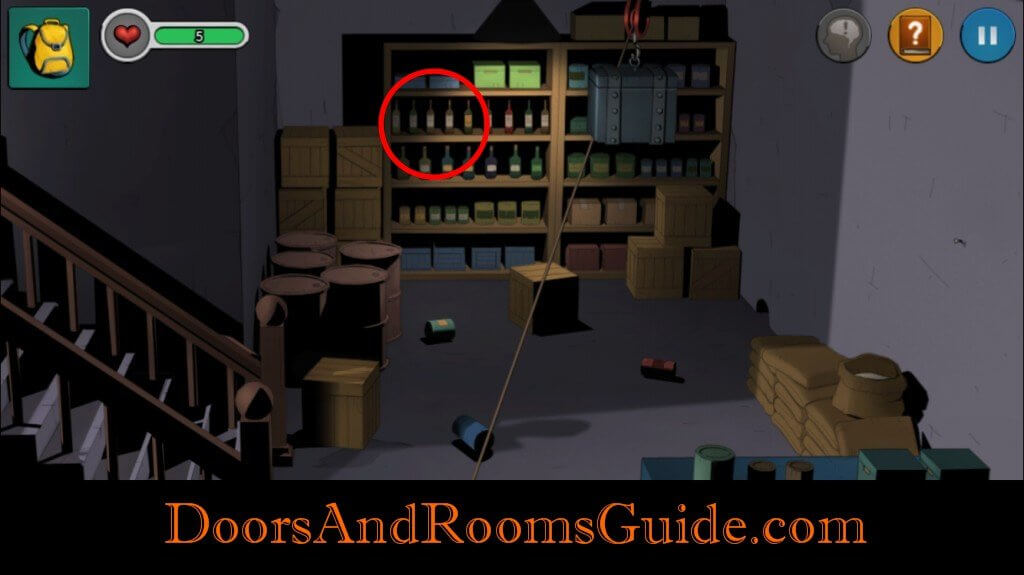
9. Wine Bottle
10. Rope
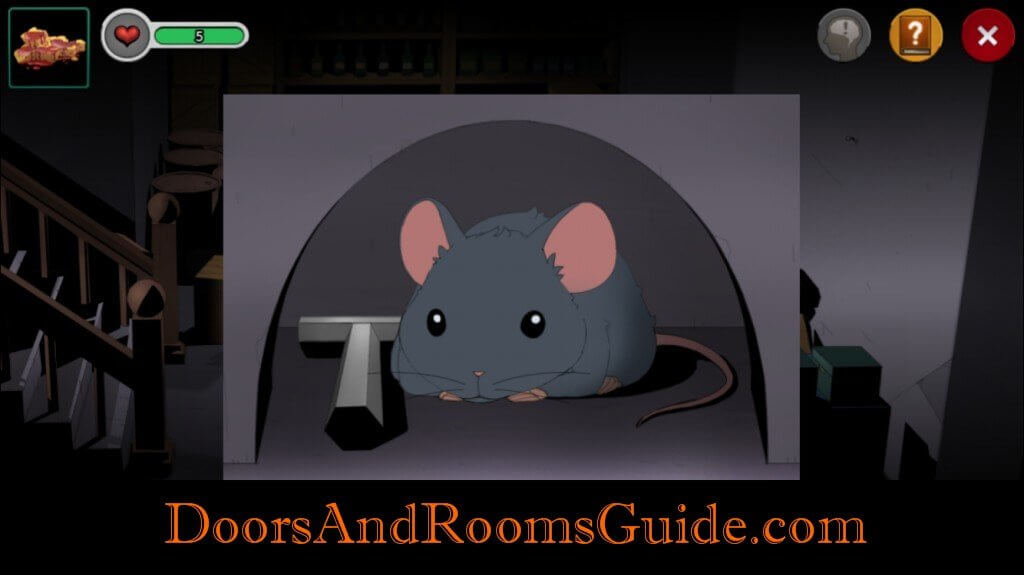
11. Mouse
12. Key hole
13. Puzzle
14. Poison
15. Bird
16. Clock
17. Bird Puzzle
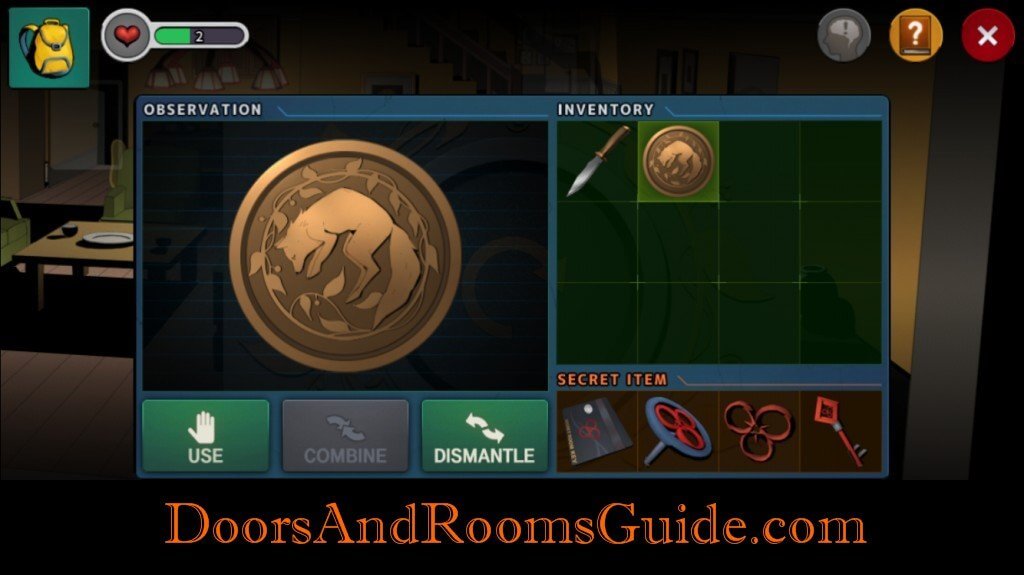
18. Medallion
How to unlock Stage 1-7:
1. You will have to obtain a secret item: Secret Metal Ornament from Stage 1-5.
2. Replay Stage 1-3. Locate the wall where the secret symbol is carved in the wall. Insert Secret Metal Ornament to open a secret door to access Stage 1-7.

3. Enter the secret passage to open up Stage 1-7.

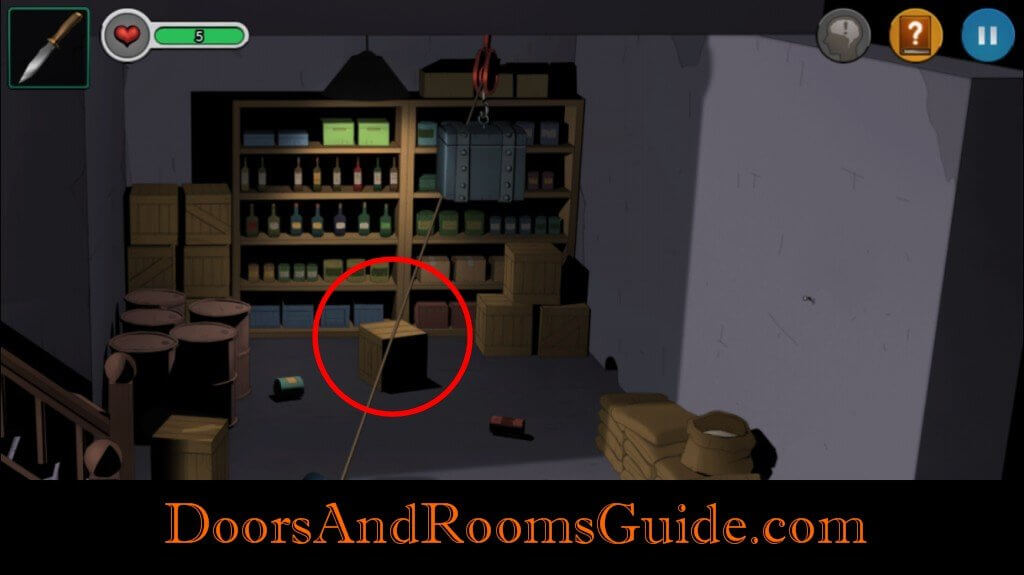
1-7 Walkthrough1. Block: Open chest box. Get a stone block.
2. Basement Key: Open table drawer. Grab the basement key.

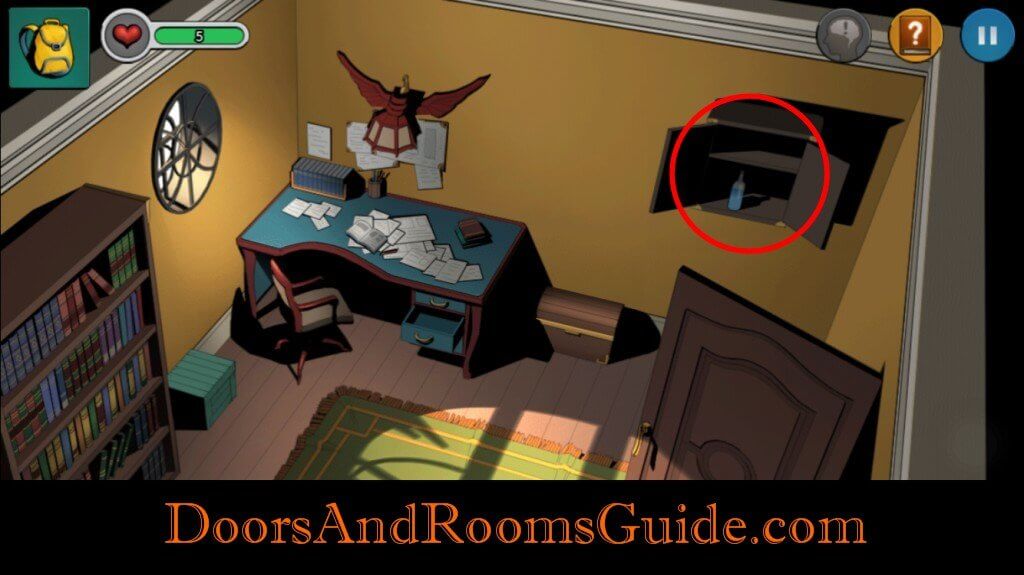
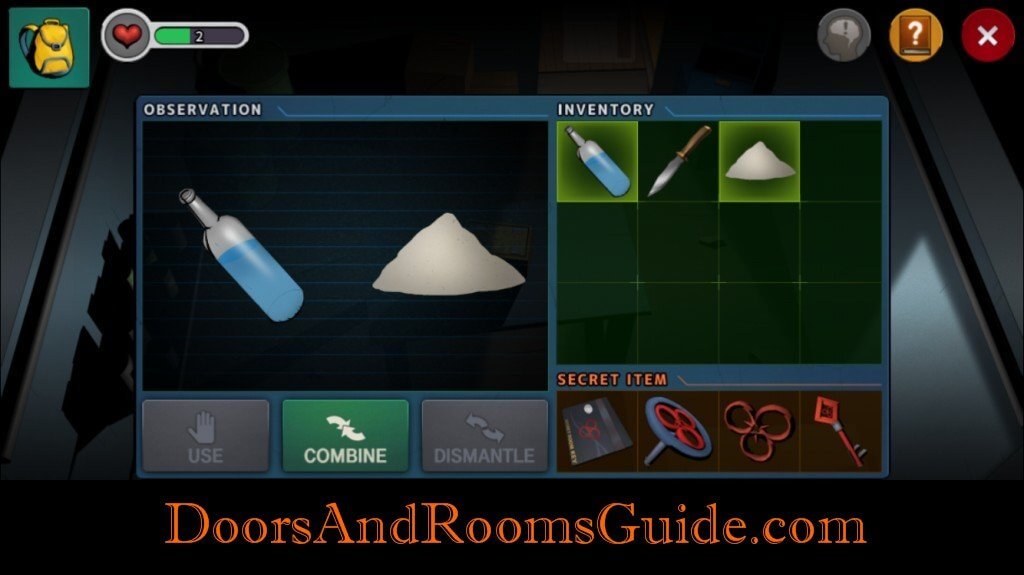
3. Solution: Open wall cabinet. Obtain a bottle of solution.
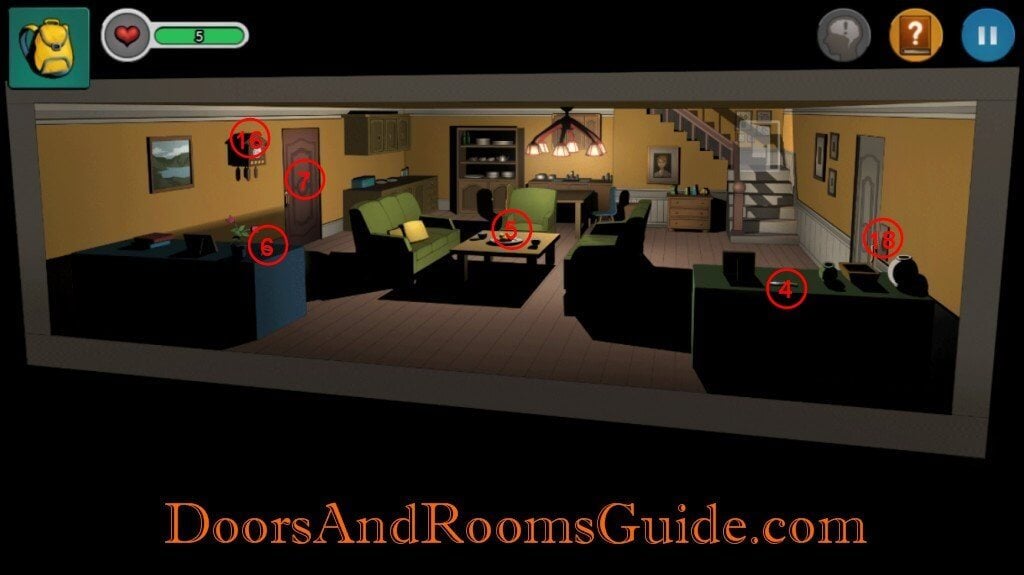
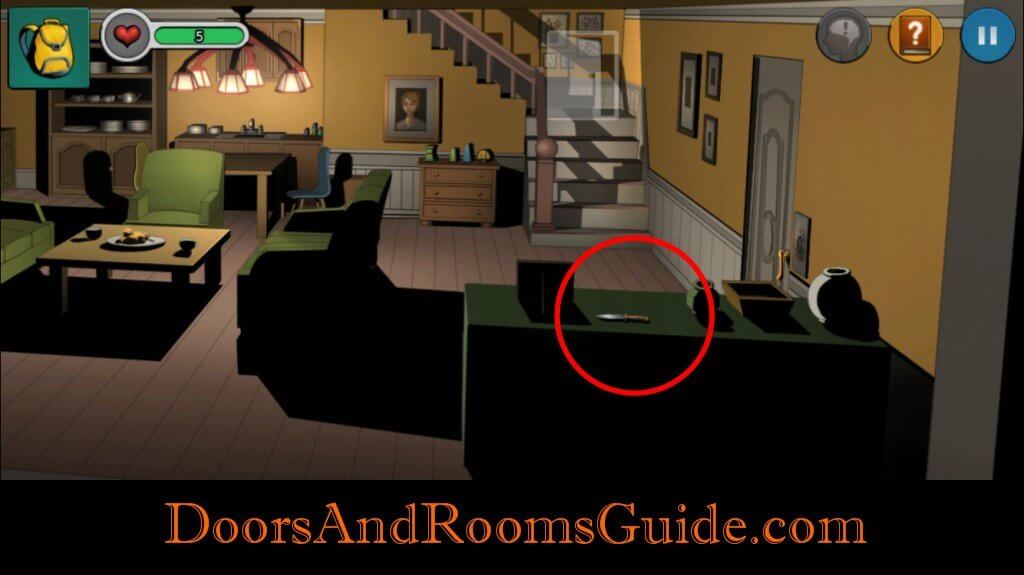
4. Knife: Go down to the first floor. Pick up the knife on the green counter top.
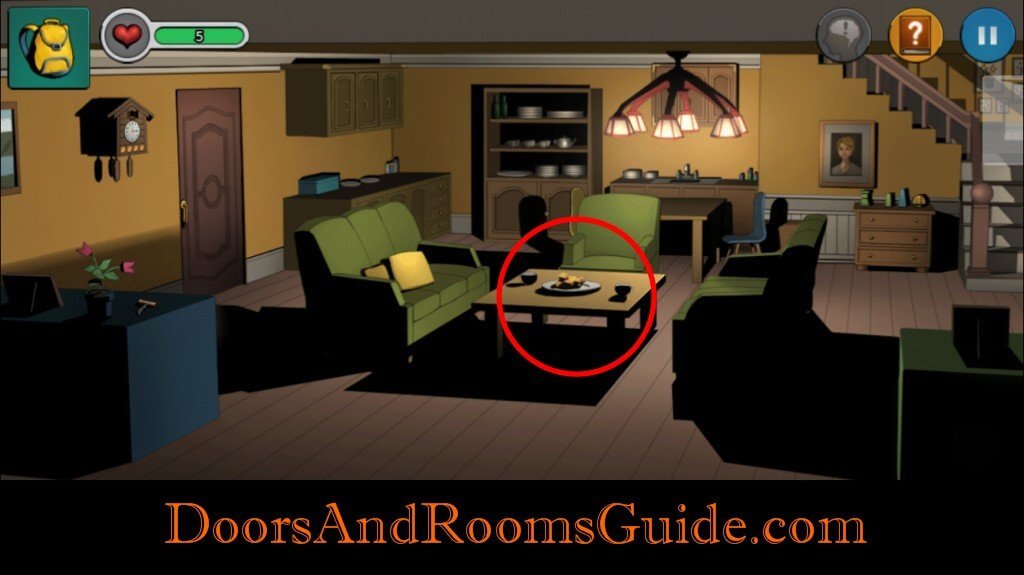
5. Cheese: Get the piece of cheese from the coffee table.
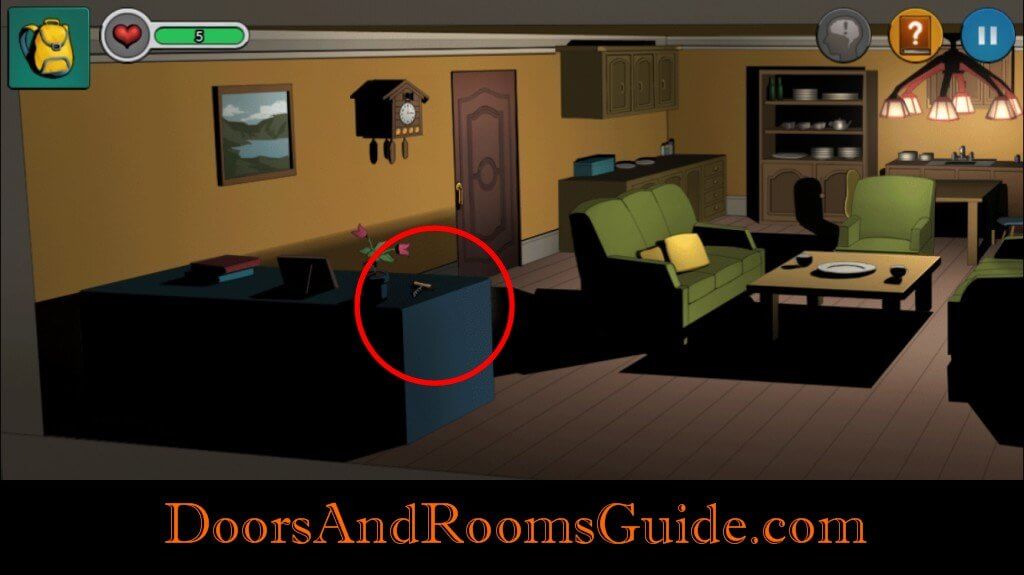
6. Wine Opener: Grab wine opener from the blue counter top.
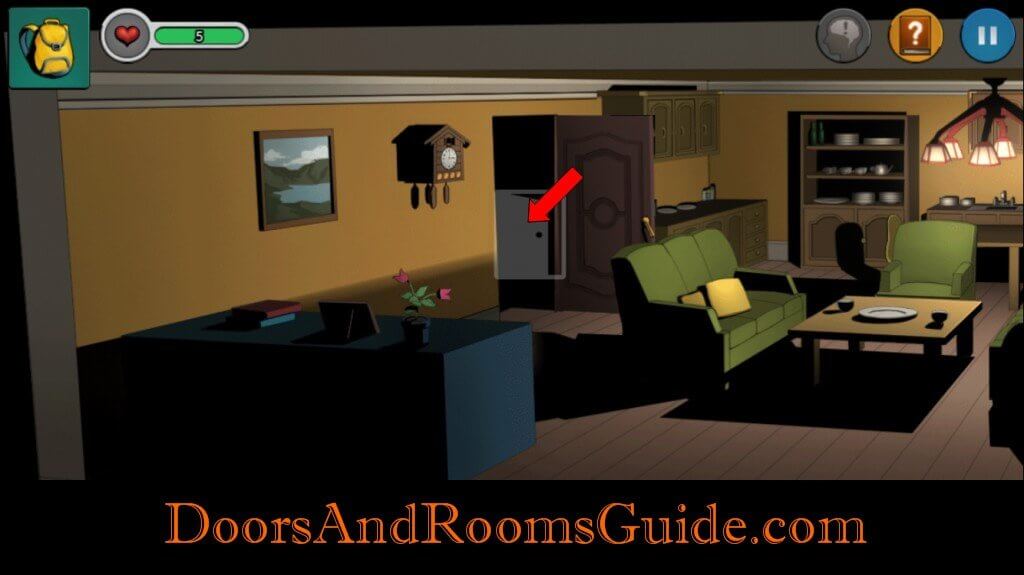
7. Basement: Use the basement key to unlock the door. Go down to the basement.
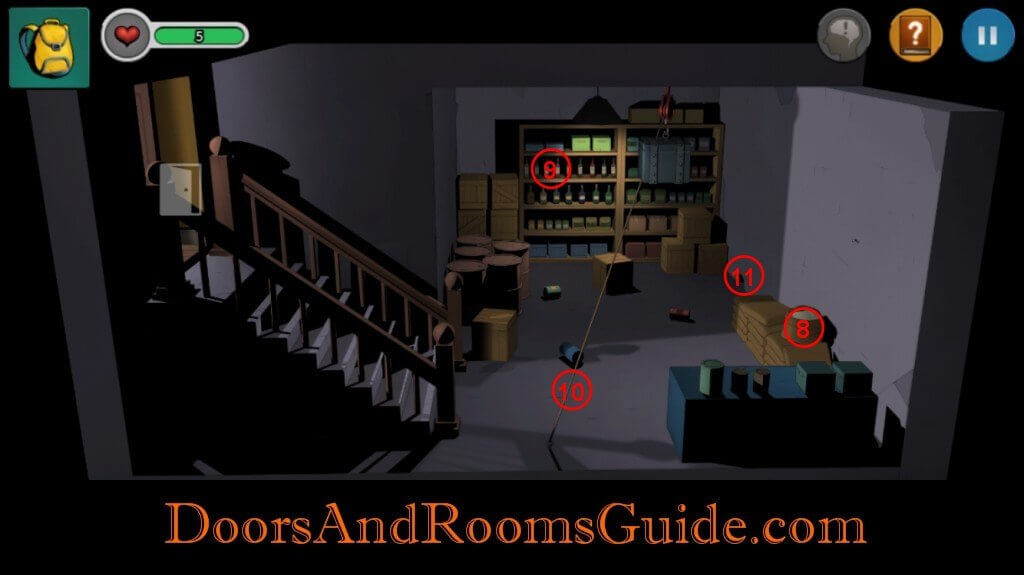
8. Flour: Get some flour from the sack.
9. Wine Bottle: Pick up a bottle of wine from the shelf.
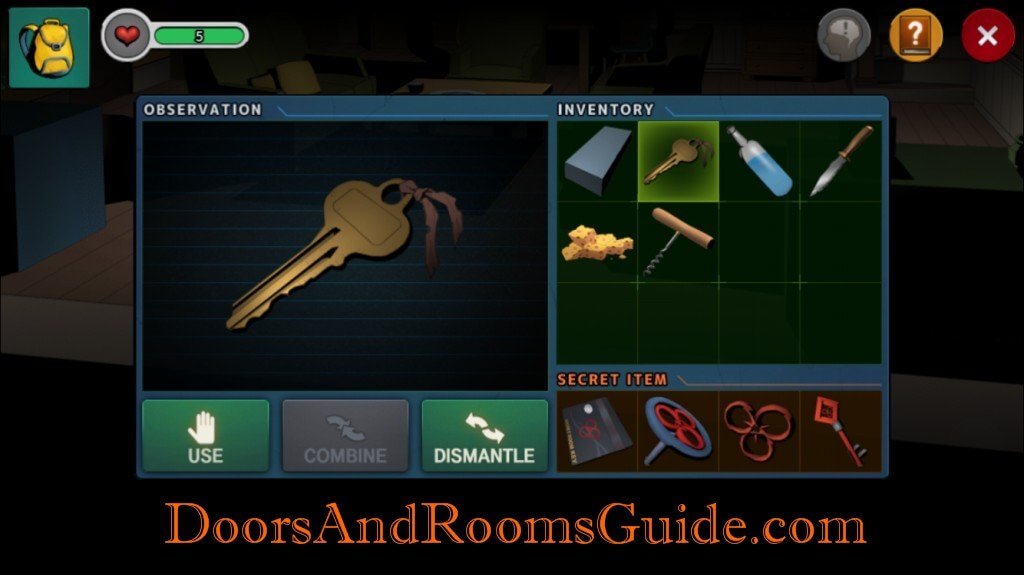
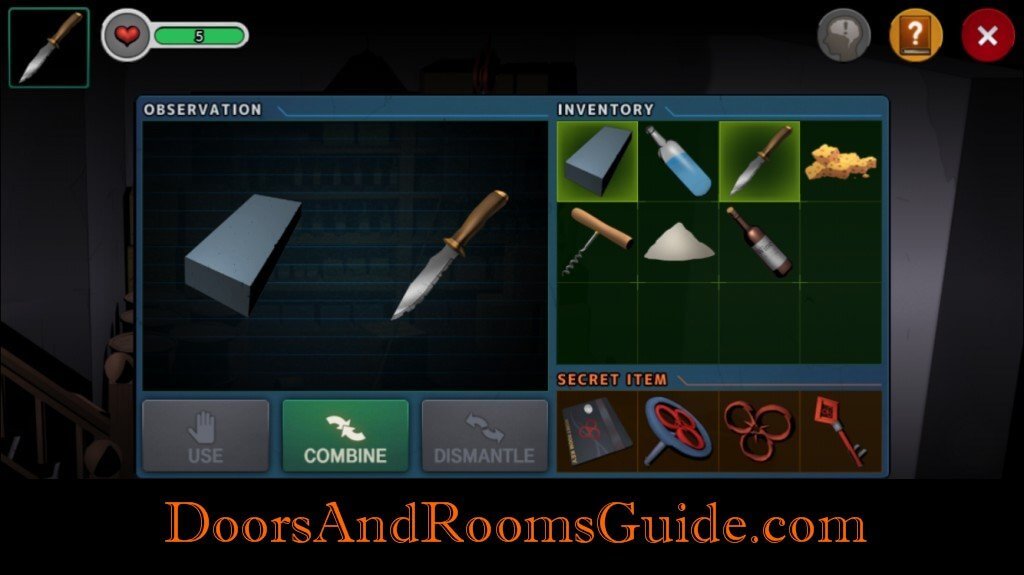
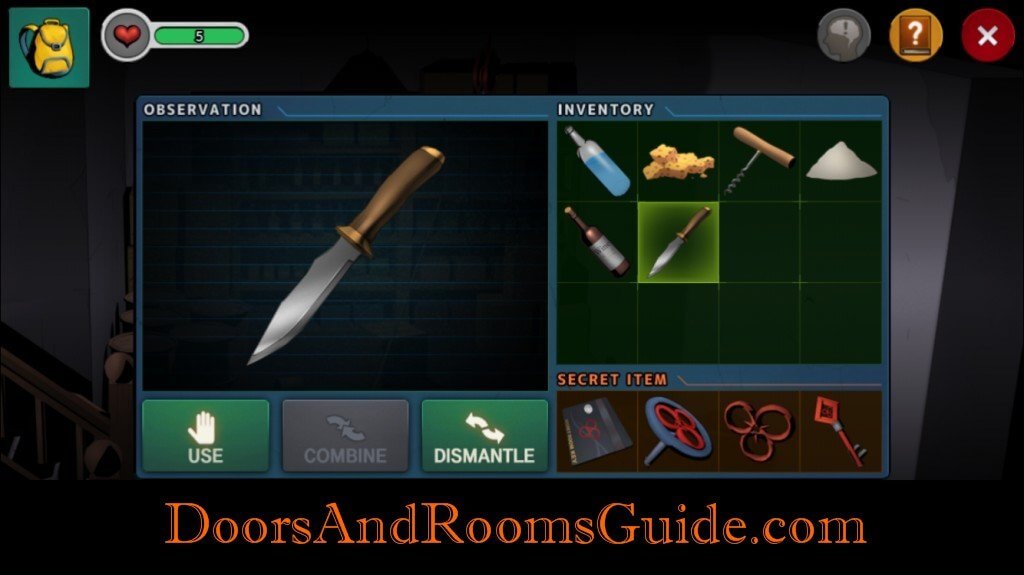
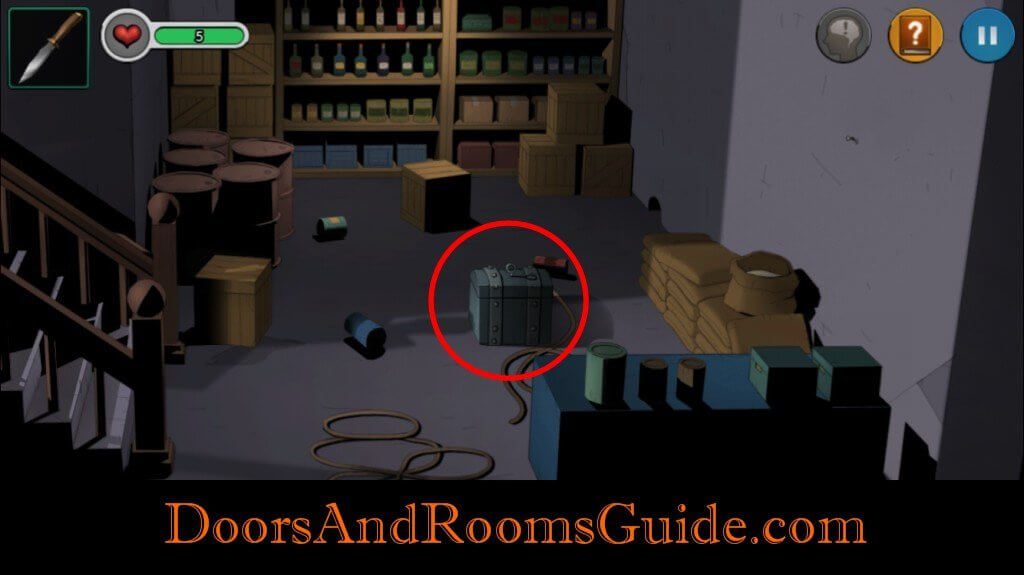
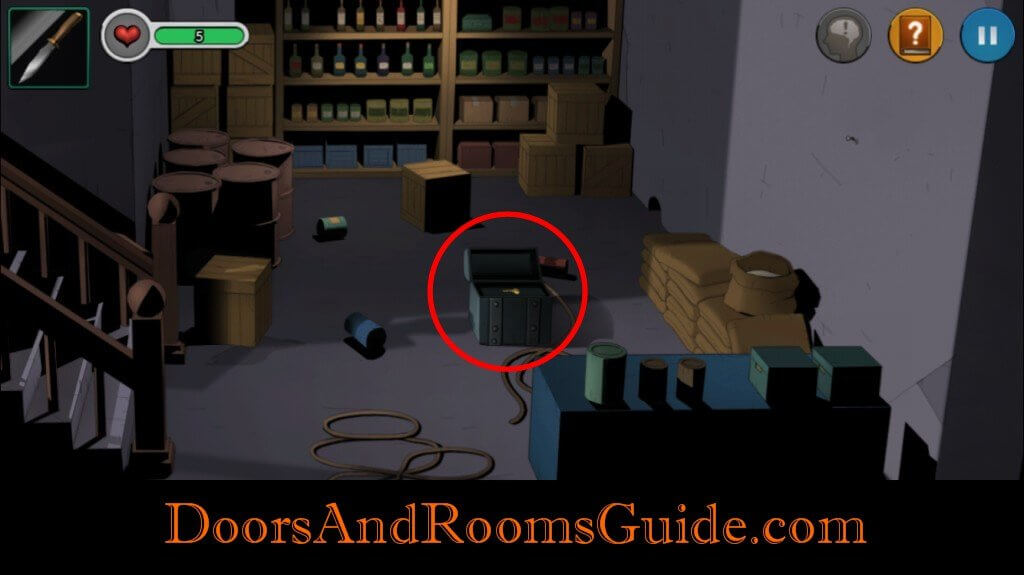
10. Rope: Sharpen the knife with the stone block. Use the knife to cut the rope. Release a chest box from the ceiling. Open the chest box. Get a key.
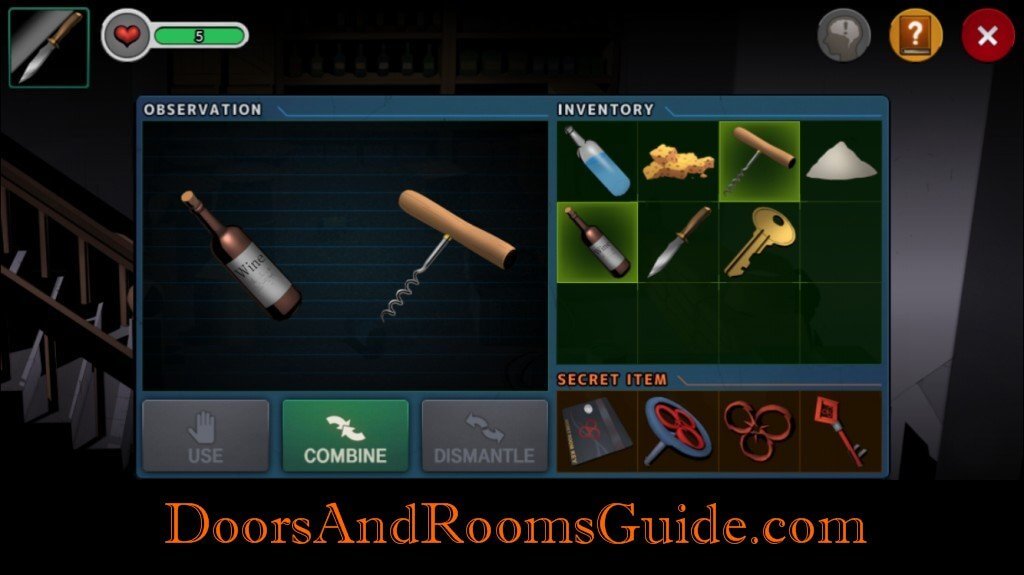
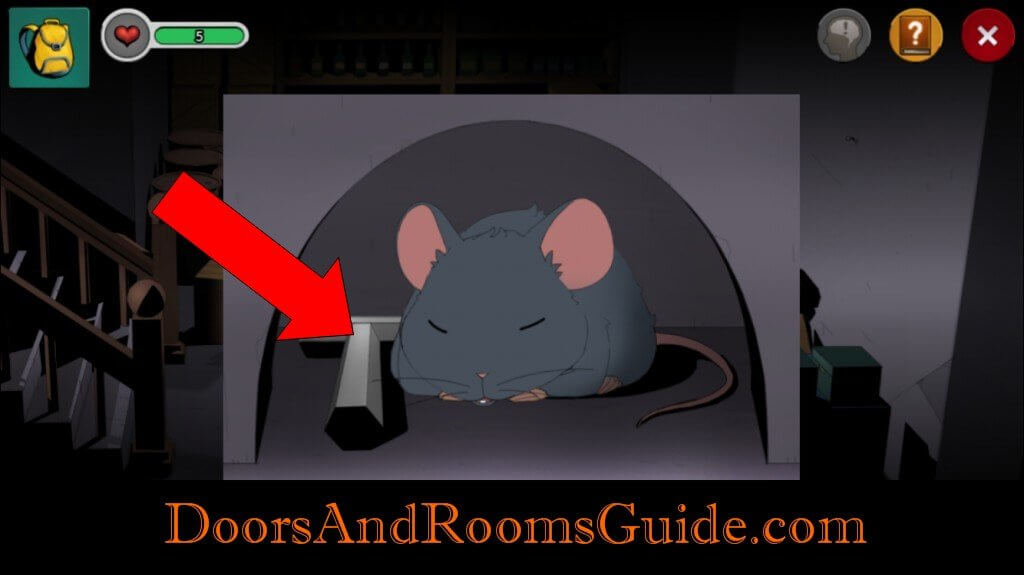
11. Mouse: Open the bottle of wine with wine opener. Pour the wine over the cheese. Give the flavored cheese to the mouse. Retrieve a T-key.


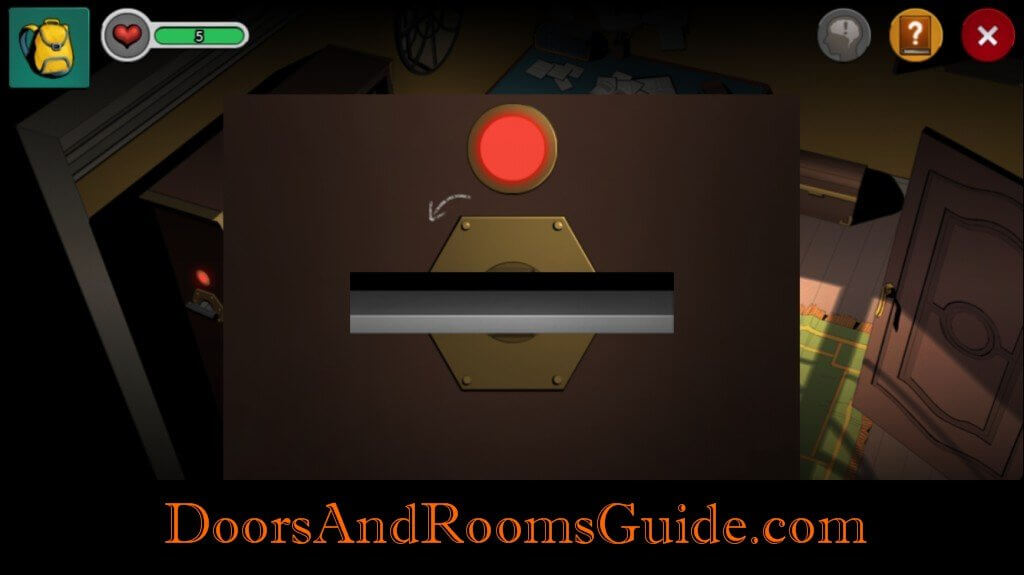
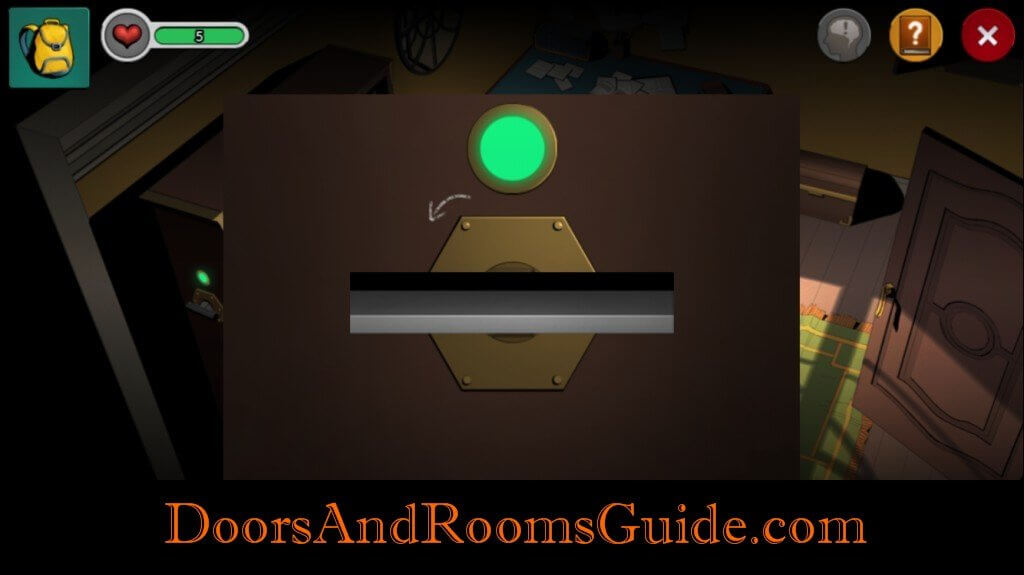
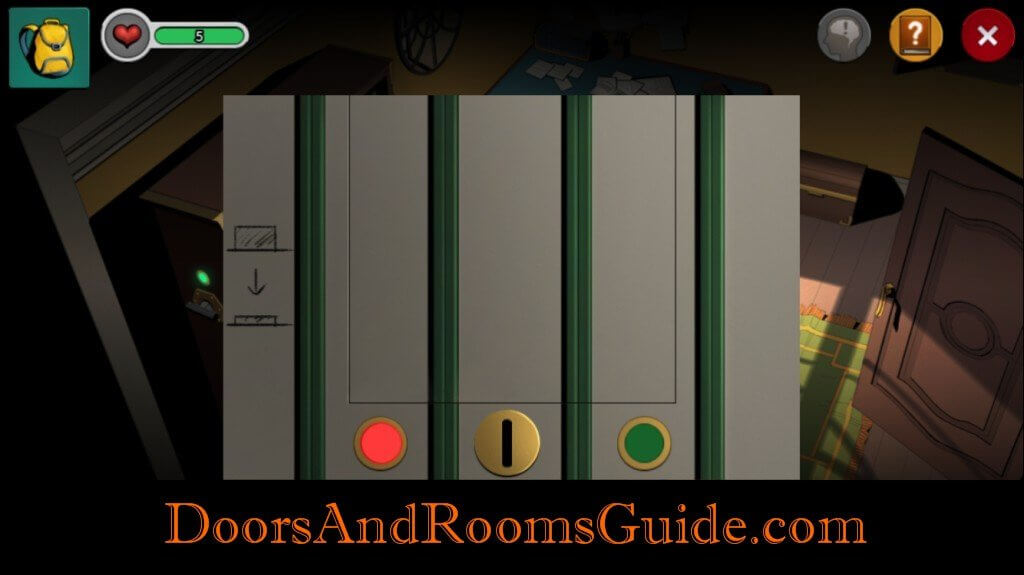
12. Key hole: Go back to second floor. Locate a hidden key hole on the side of the bookshelf. Insert T-key. Turn the key counterclockwise until the light turn green. This will trigger a switch and eject a puzzle.


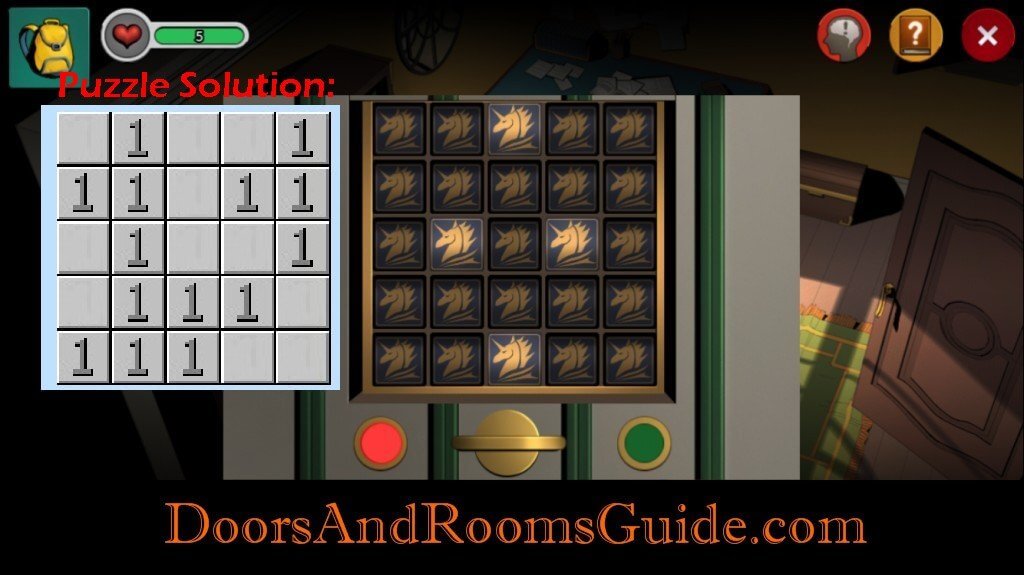
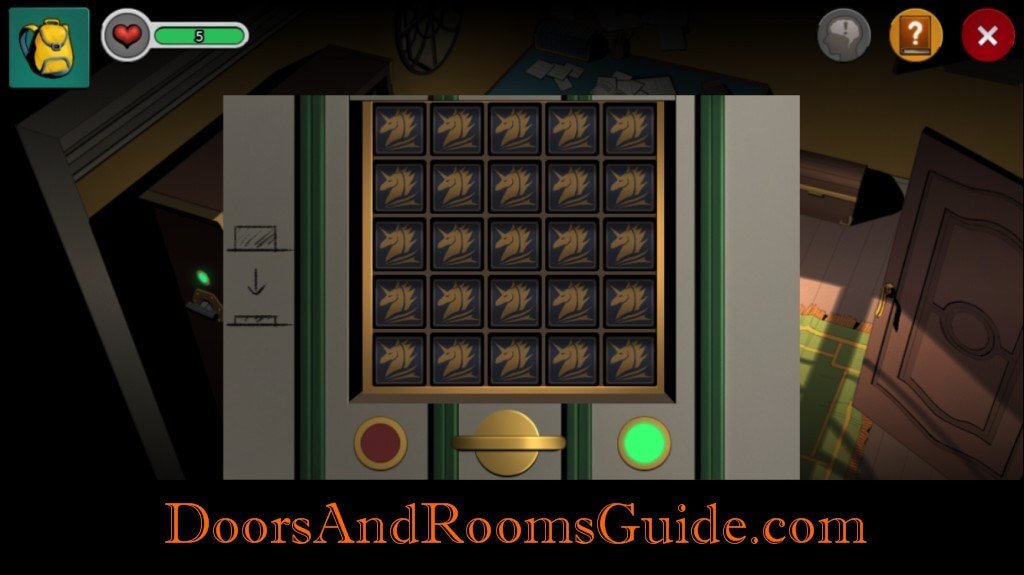
13. Puzzle: Insert key. Solve the puzzle. A shelf on first floor will move and reveal a hidden room. If you are having a hard time solving it, we have provided the exact button steps to help you. Simply tap the buttons as shown in the picture.


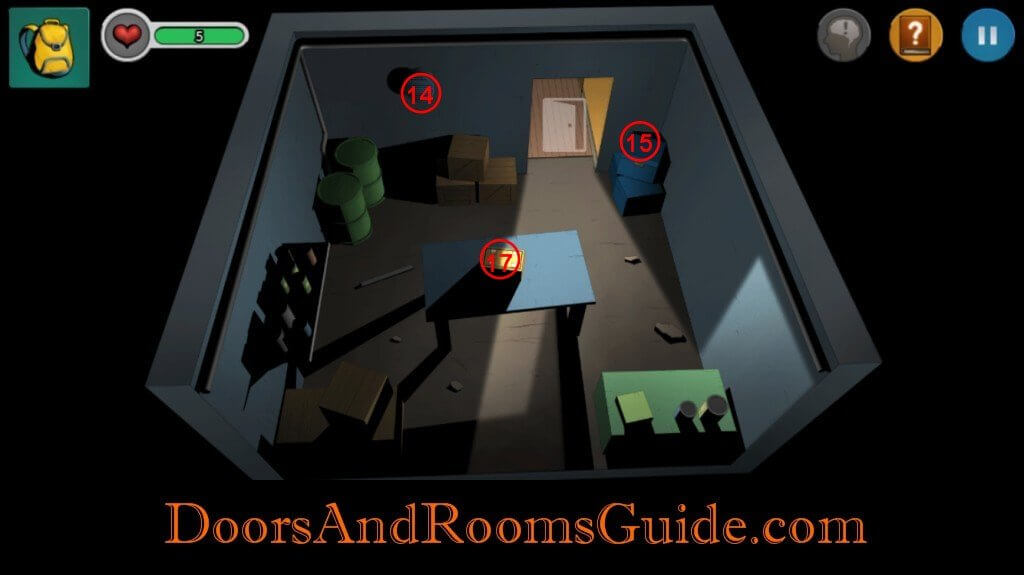
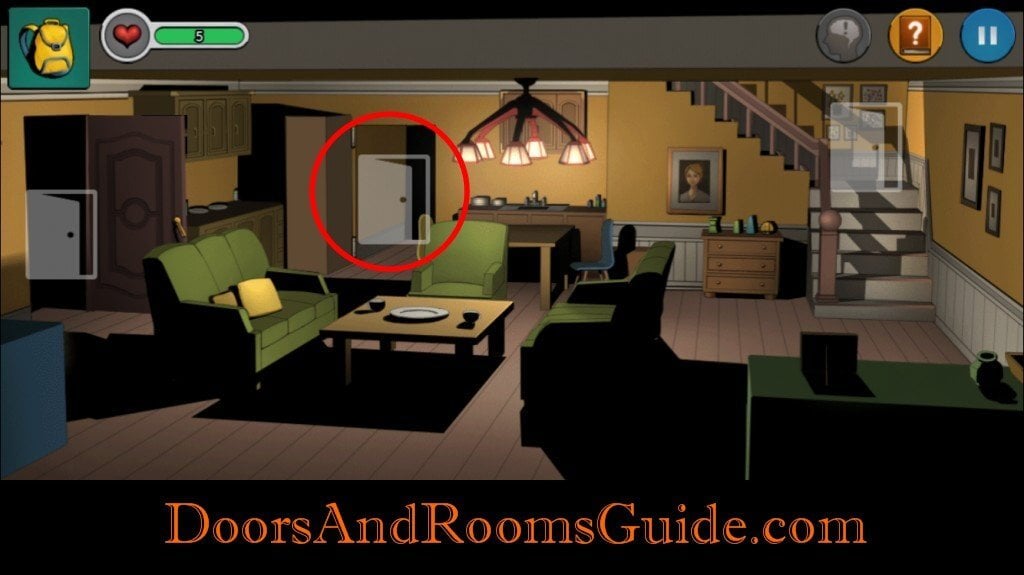
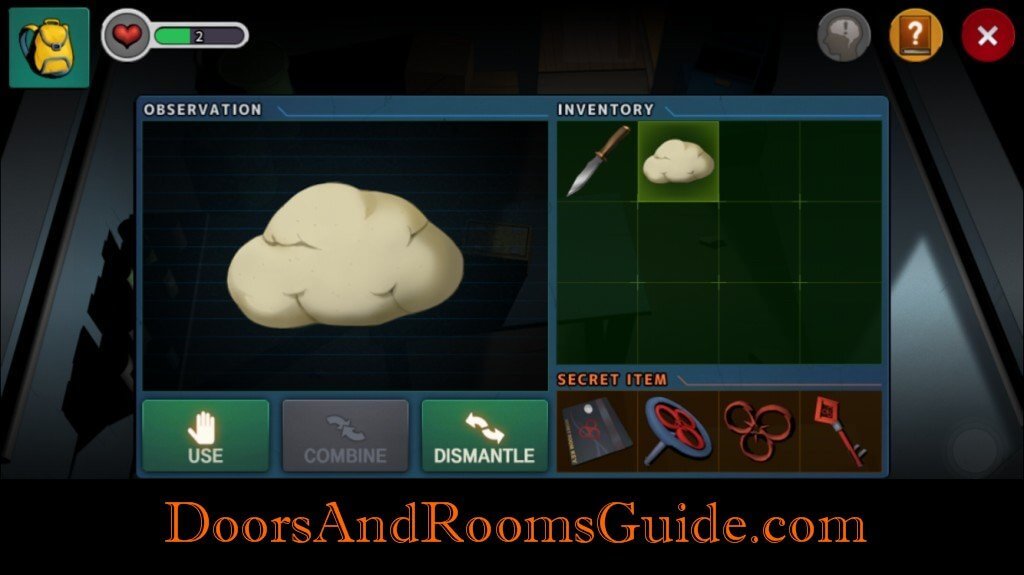
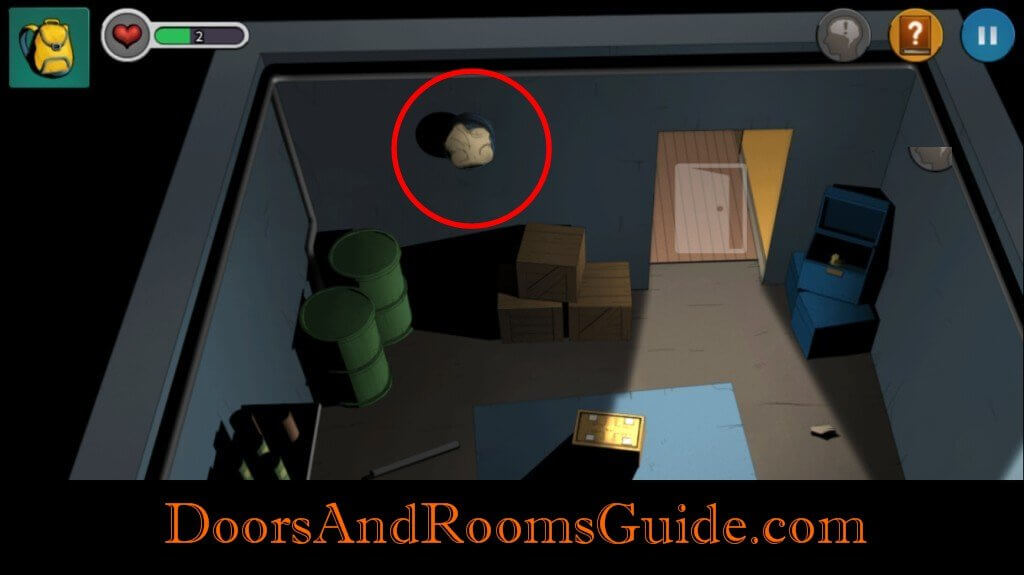
14. Poison: Go back to first floor. Upon entering the hidden room, you will lose health every few seconds or so, so you have to be fast to block the air vent to prevent the poison gas. Combine Solution and Flour. Place the dough on the air vent to block the poison gas.
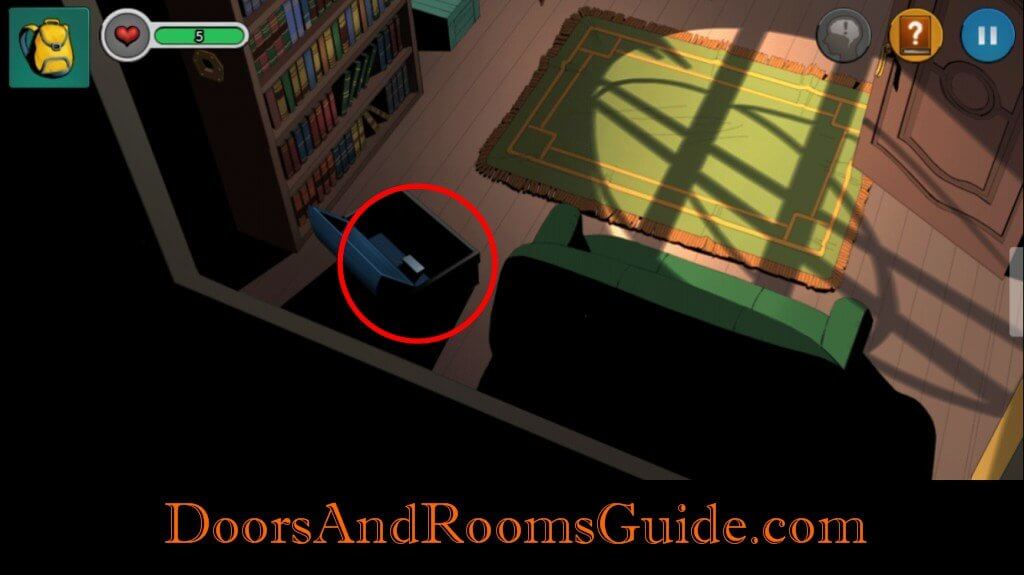
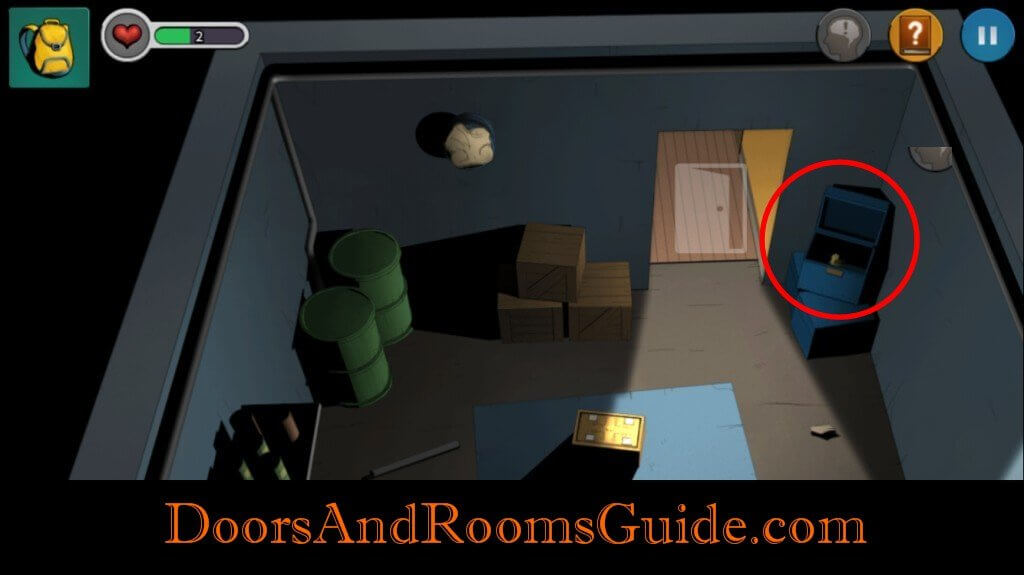
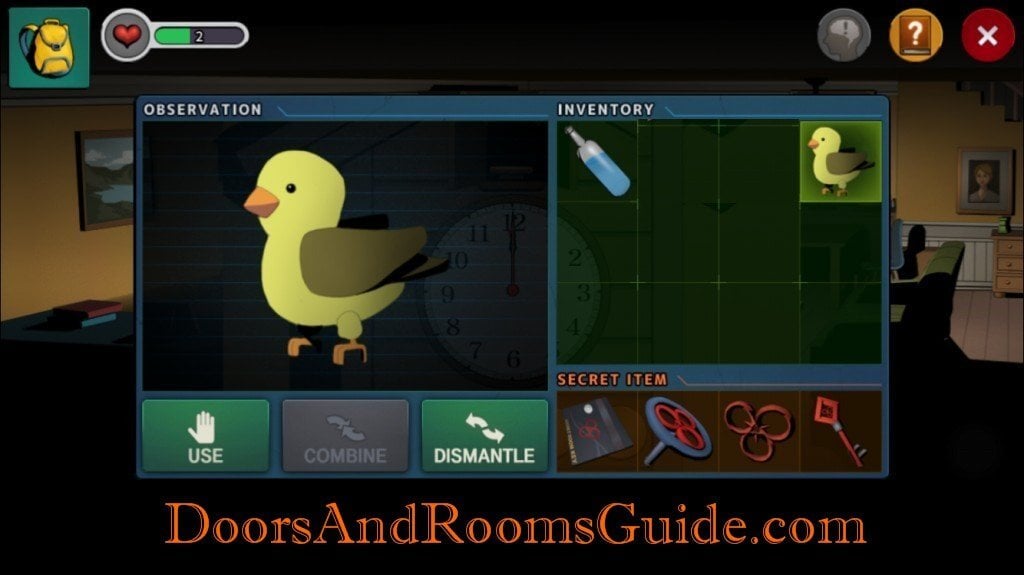
15. Bird: Open the blue box next to the door and get a cuckoo bird figurine.
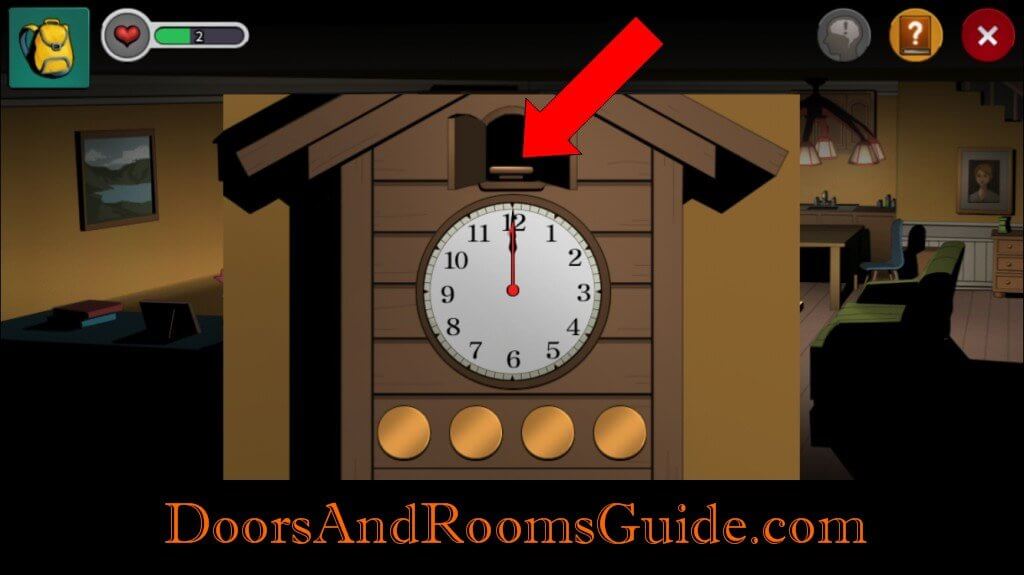
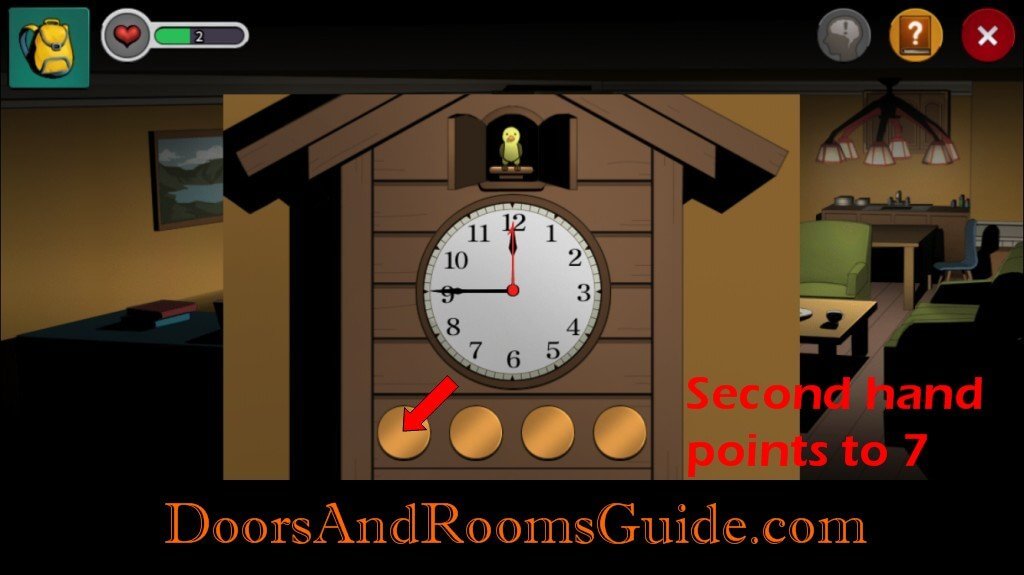
16. Clock: Place the cuckoo bird figurine on the clock. There are four buttons at the bottom of the clock. The clock hands will move when each button is pressed. Pay extra attention to where the second hands point.
Button 1: Hour hand (12), Minute hand(9), Second hand(7)
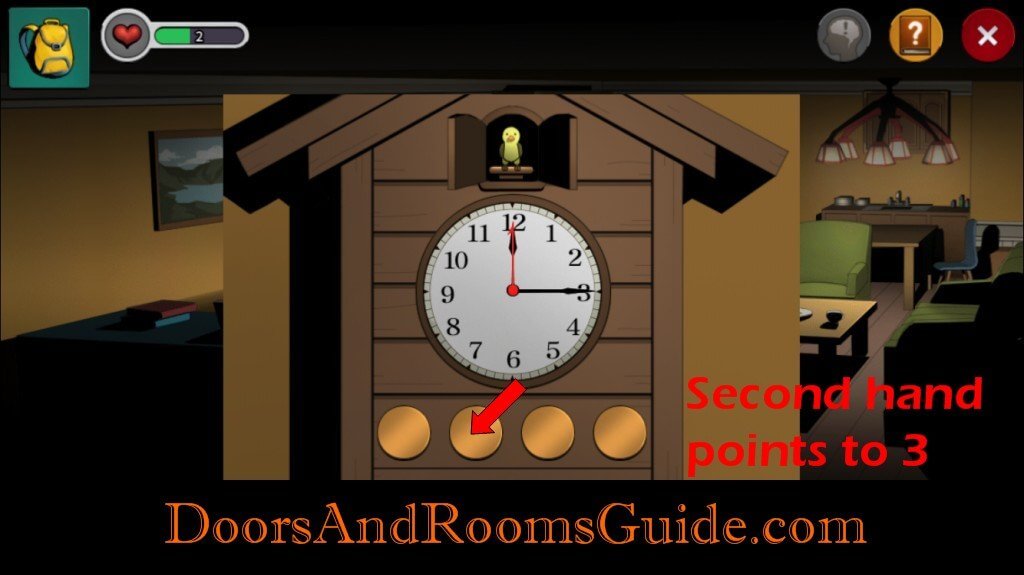
Button 2: Hour hand (12), Minute hand(3), Second hand(3)
Button 3: Hour hand (6), Minute hand(9), Second hand(5)
Button 4: Hour hand (6), Minute hand(3), Second hand(9)


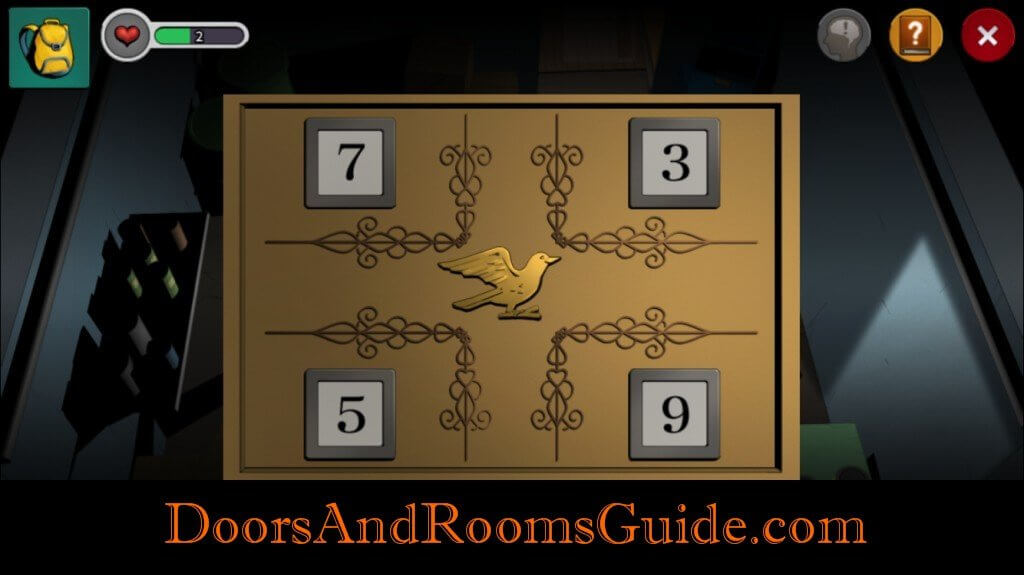
17. Bird Puzzle: Go back to the hidden room. Check out the puzzle box.
Puzzle Solution: Use the clues that you obtained from the cuckoo bird clock. The four sets of times are actually carved on the puzzle box. The “numbers” match the quadrant on the clock.
For example, the code 7 matches with the clock hands sitting at “9” and “12”.
Enter the passcode as shown in the picture if you are unsure about the solution.
7 3
5 9
Retrieve a medallion.

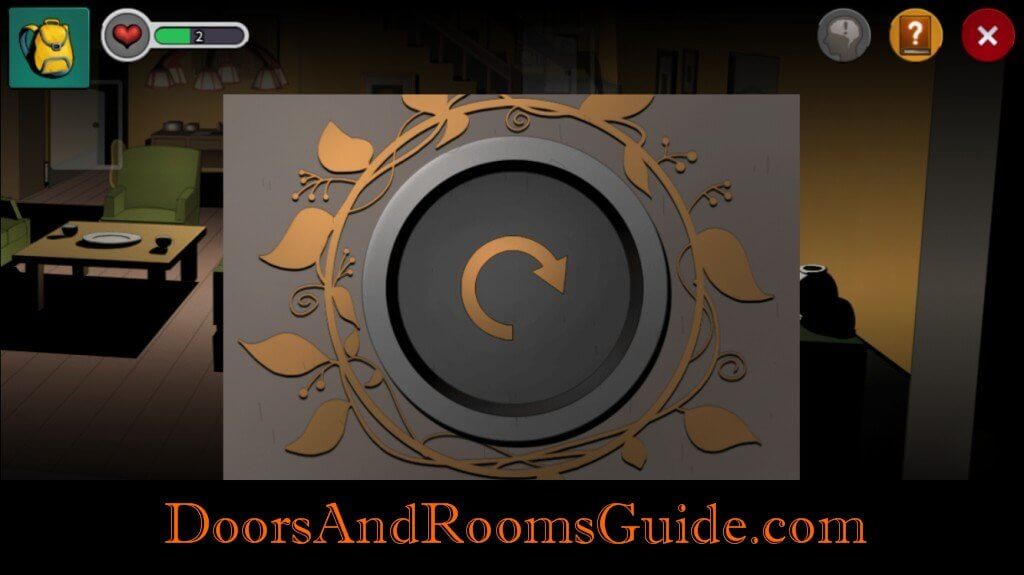
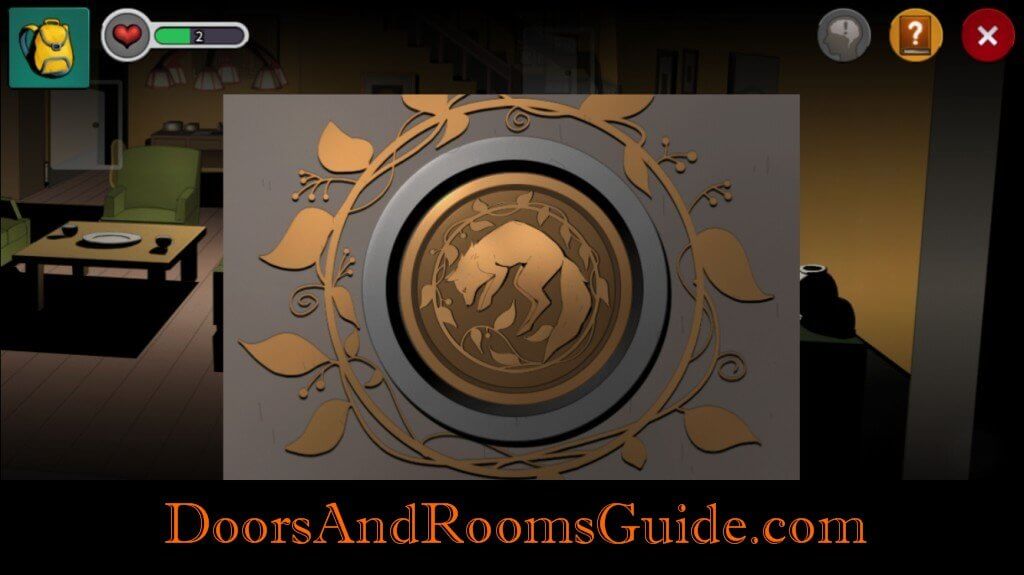
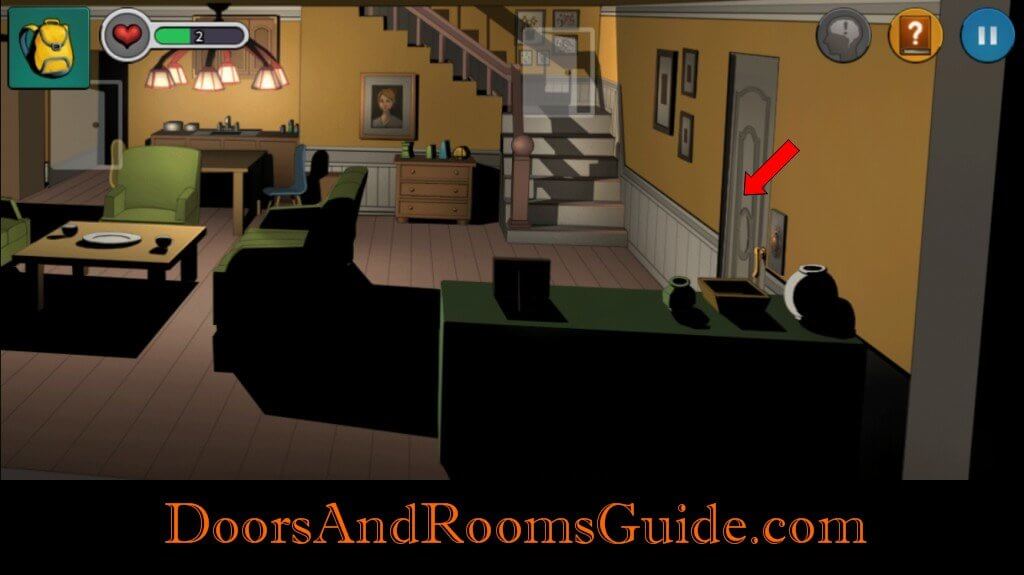
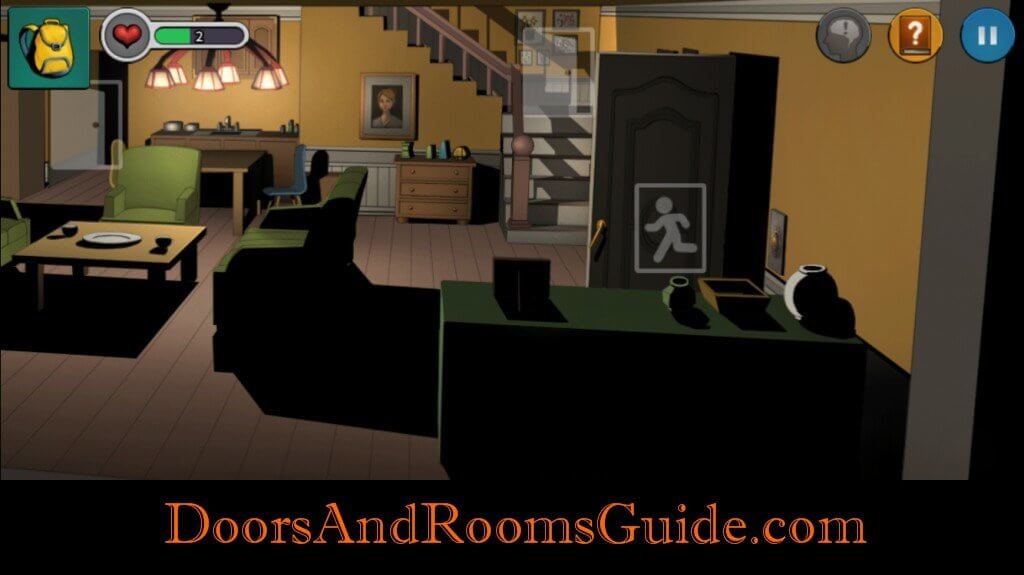
18. Medallion: Place the medallion on the front door key pad. Turn the medallion clockwise. Open the door and leave the house!
Trap Warning:
1. Touching the mouse without putting it to sleep first will cause you to lose health.
2. Hidden room is guarded with poison gas. Follow our steps to block the gas.
This puzzle is not correct, solve this pls…
My unicorn puzzle is not the same as what you have! I can not figure this out at all!?? It’s the opposite of what is in your first pictures and when I put in the pattern you show it makes them all pop up not down
We’re you ever able to solve the puzzle? I’m still stuck
Touch each corner, middle button than the two buttons directly right and left of middle button.
This worked! Thank you!
Yes, that did it! Thank you so much!
None of the hints or tips have helped me with the unicorn puzzle…stuck…stuck…
Anyone having trouble with this puzzle should check out this site. http://www.ueda.info.waseda.ac.jp/~n-kato/lightsout/
I used it and it helped me solve my puzzle. Just pick 5×5 board and edit it to match your current layout.
I got stuck on the secret door puzzle
They only show ONE solution!!!
For everyone having the same problem with the puzzle as me…. click the x’s
ooxoo
xoxox
oxxxo
xoxox
ooxoo
Oh thank you. God blesses you
Oh thank you. God blesses you
Emmaaaa I love uuu !! Your tip on the puzzle helped a ton! I’ve been working on it for soooo long. The tips shared up top didn’t help me at all. Thank u for sharing!!