
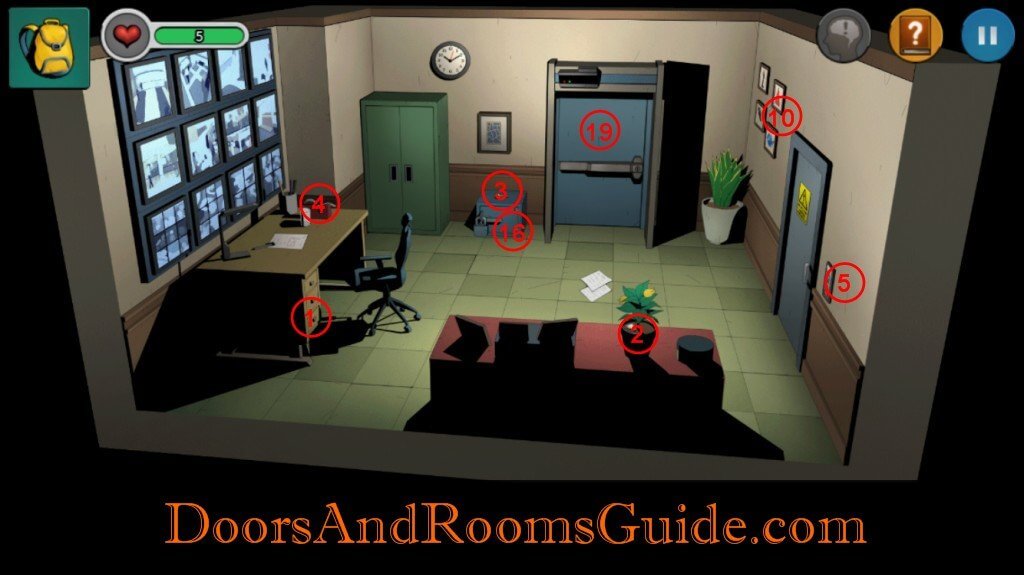
Room Map
Walkthrough Item Index
Trap Warning
1. Brush
2. Powder
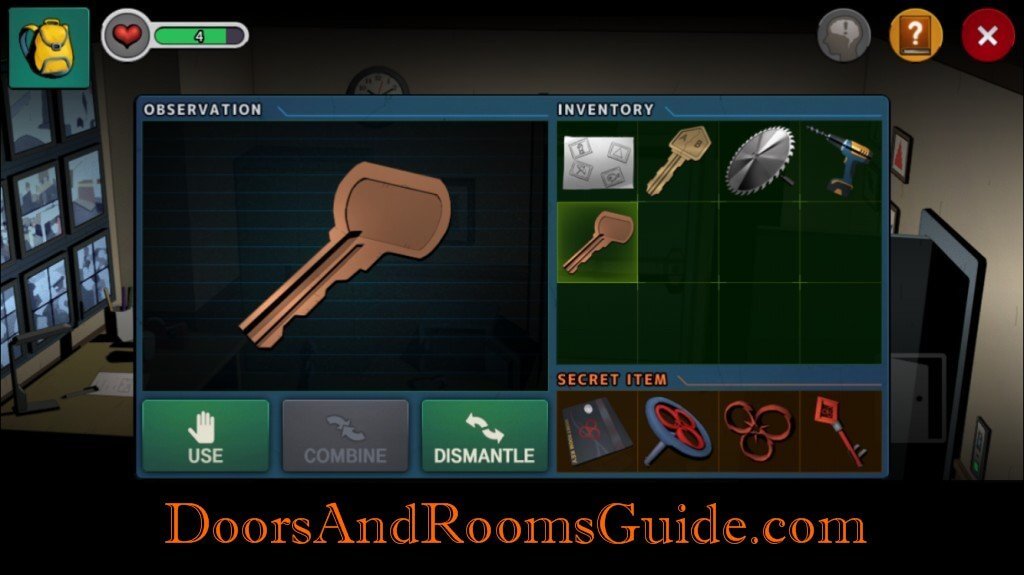
3. Key A
4. Fingerprint
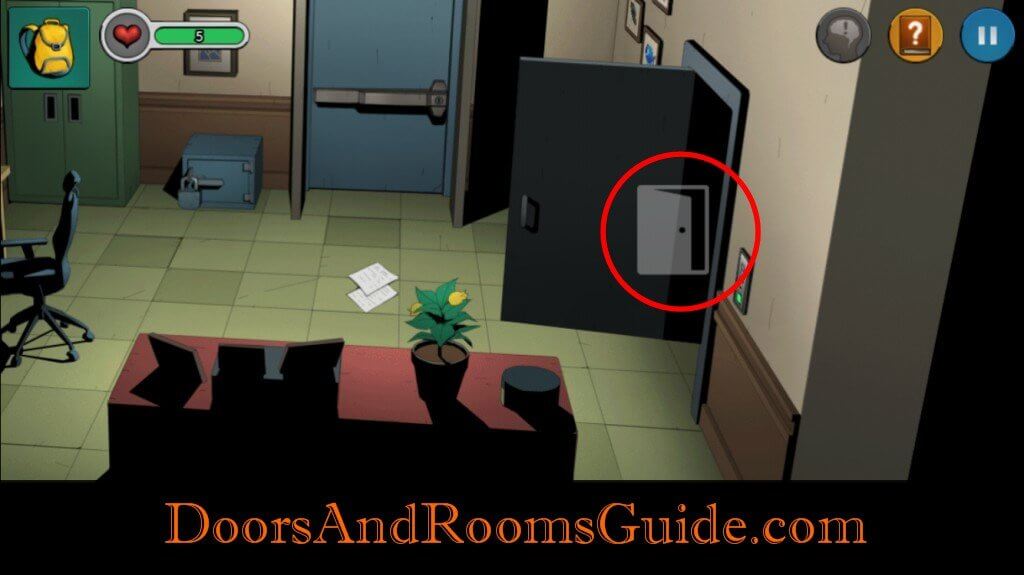
5. Keypad
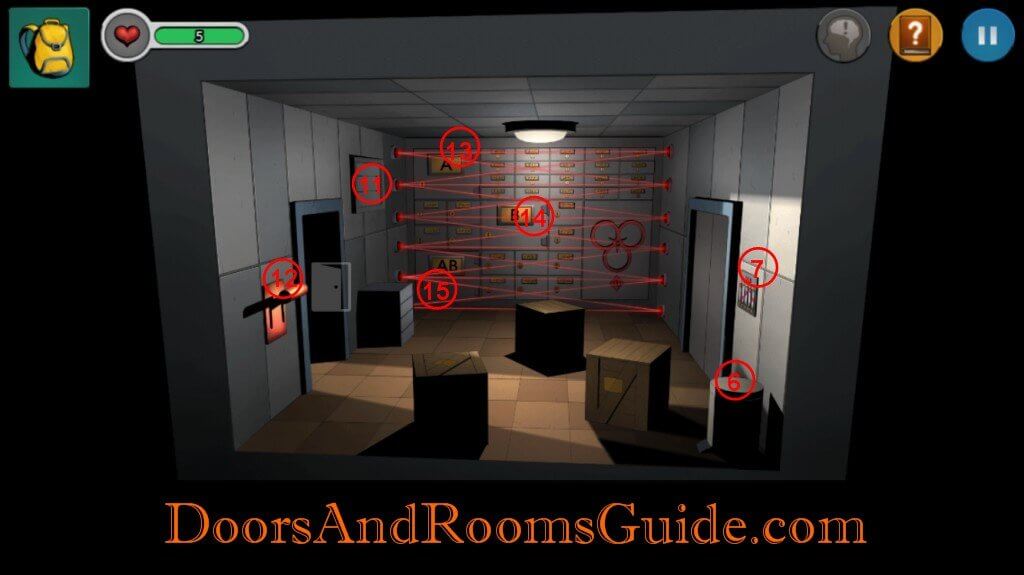
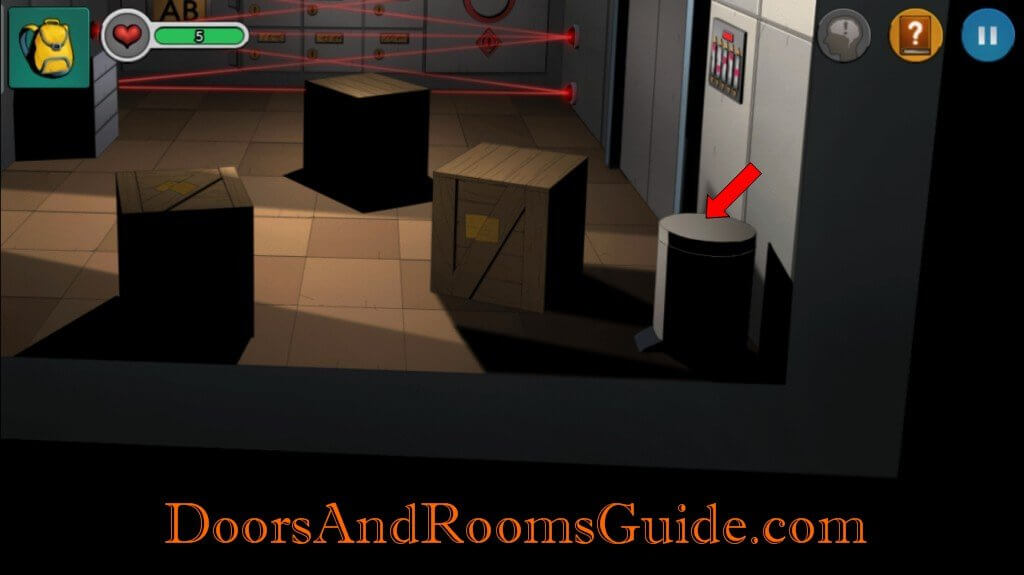
6. Trashcan
7. Vault Door
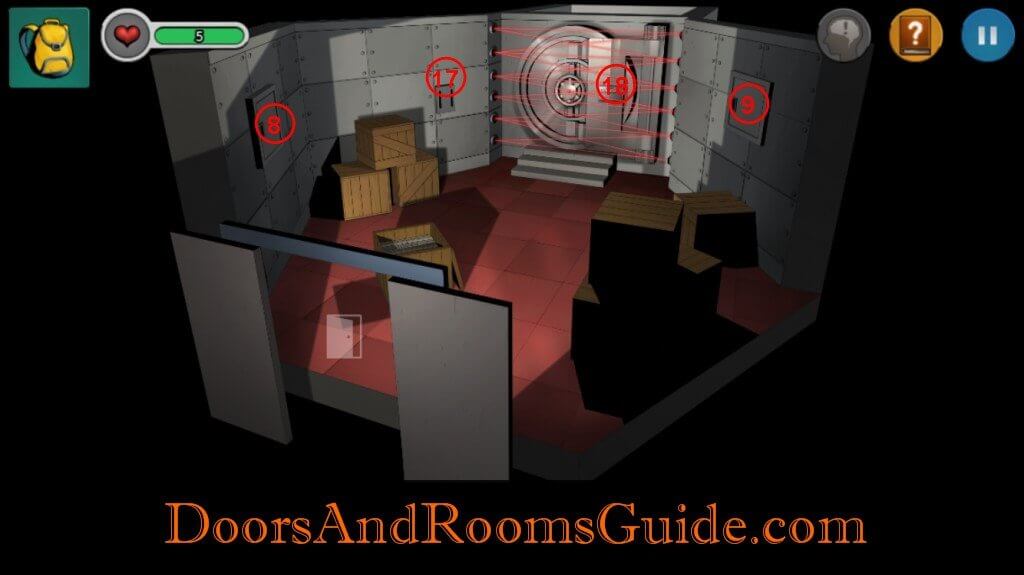
8. Drill Bit
9. Key B
10. Wall Photograph
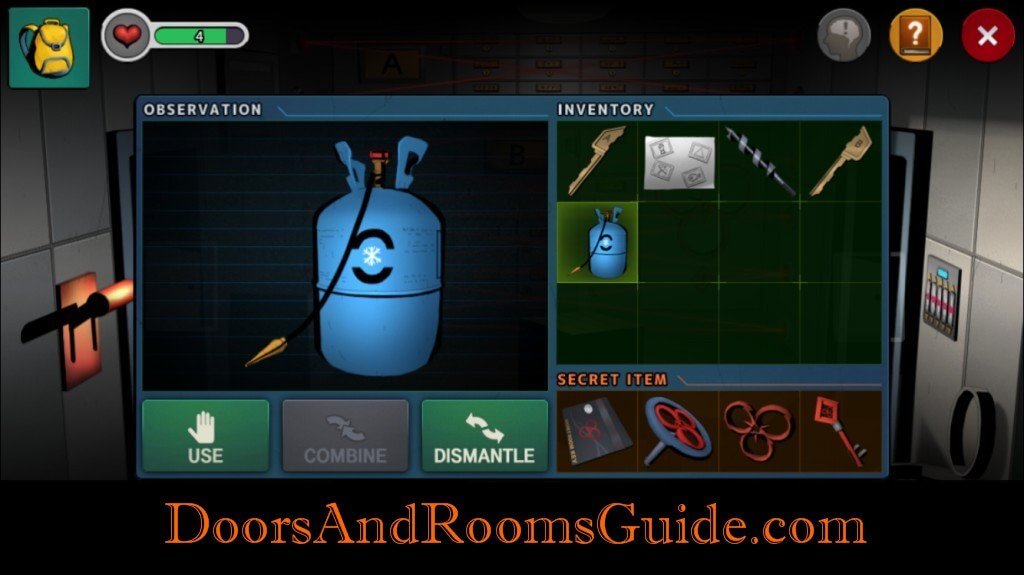
11. Coolant
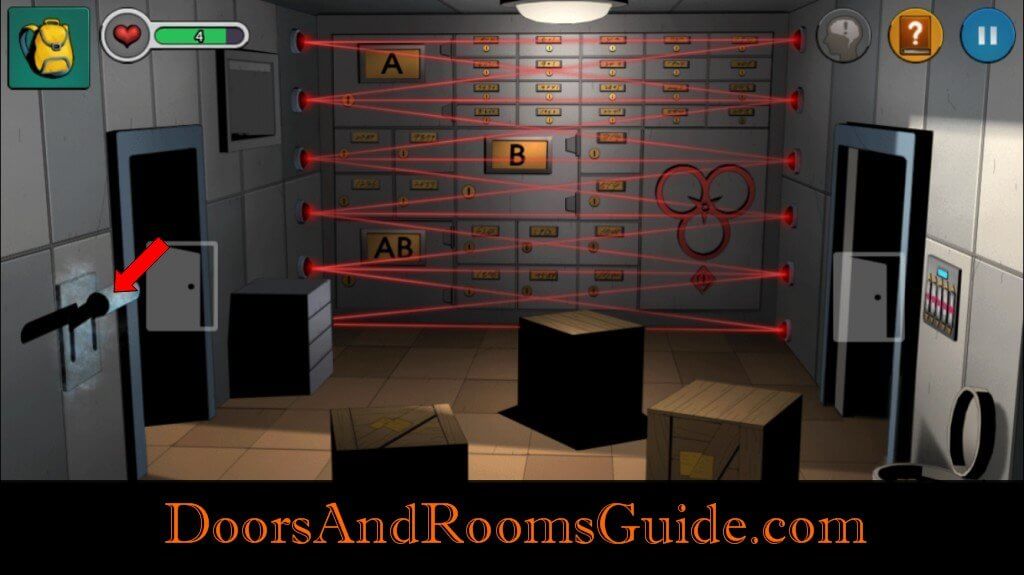
12. Switch Lever
13. Safe Deposit Box A
14. Safe Deposit Box B
15. Safe Deposit Box AB
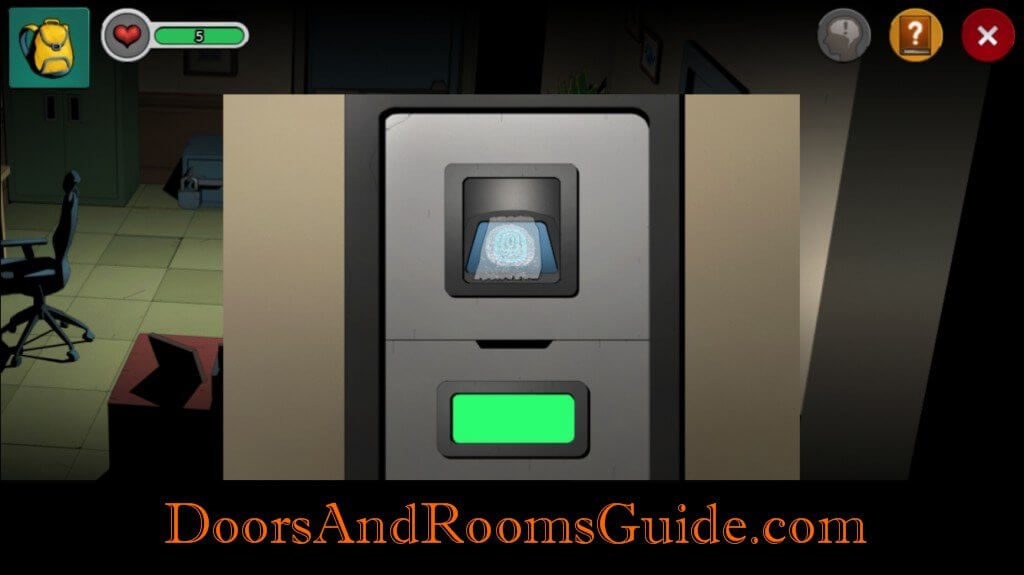
16. Pinhole Camera
17. Laser Beam
18. Vault
19. Front Door
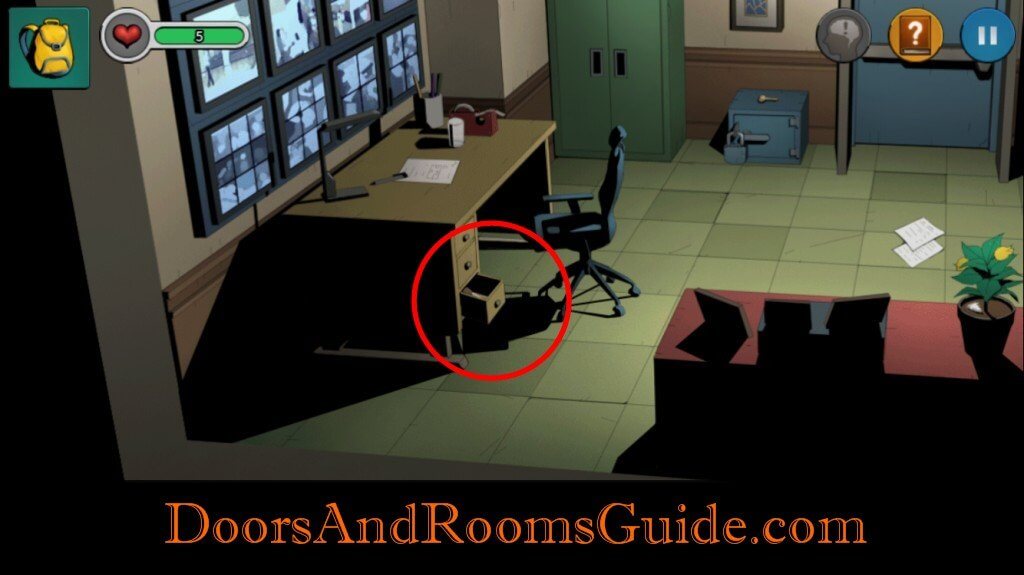
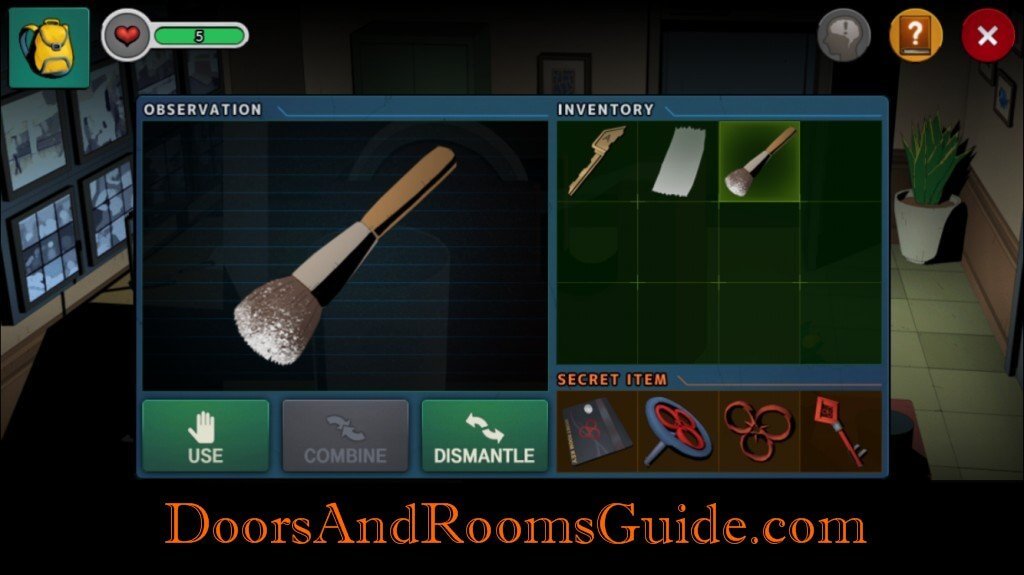
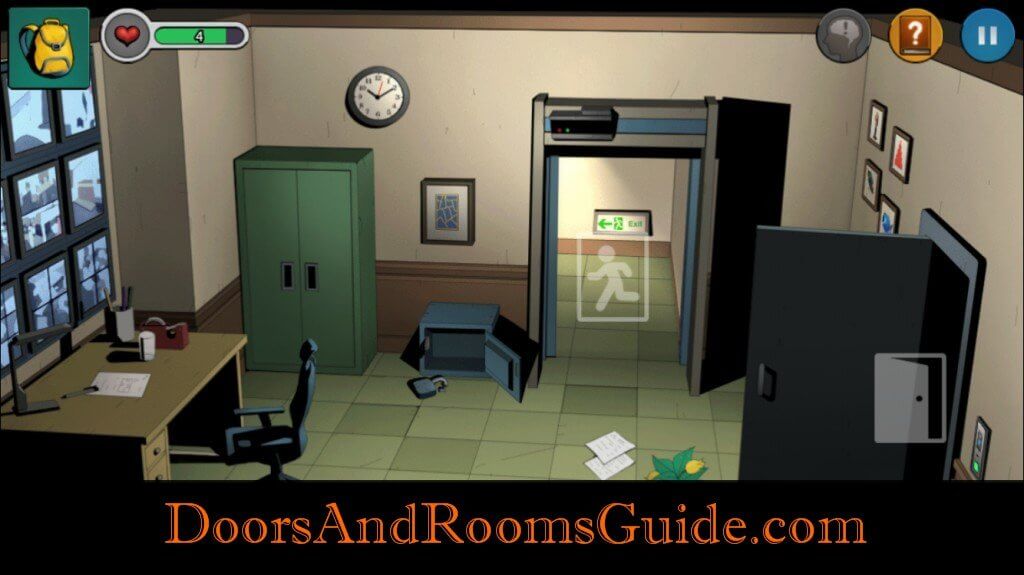
1. Brush: Open desk drawer. Get a brush.
2. Powder: Locate a flower pot. Get some powder.

3. Key A: Grab the Key A on top of safe box.
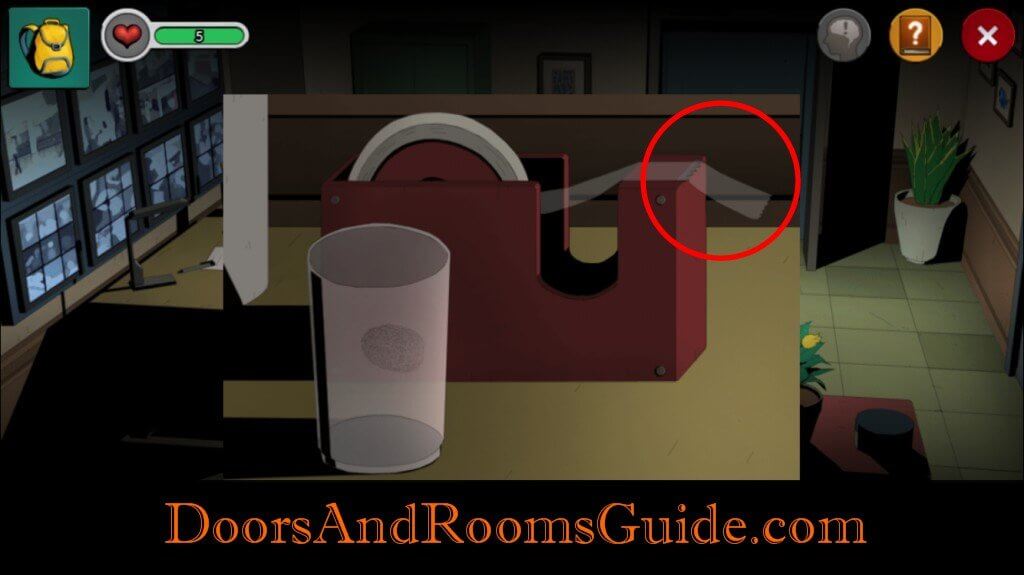
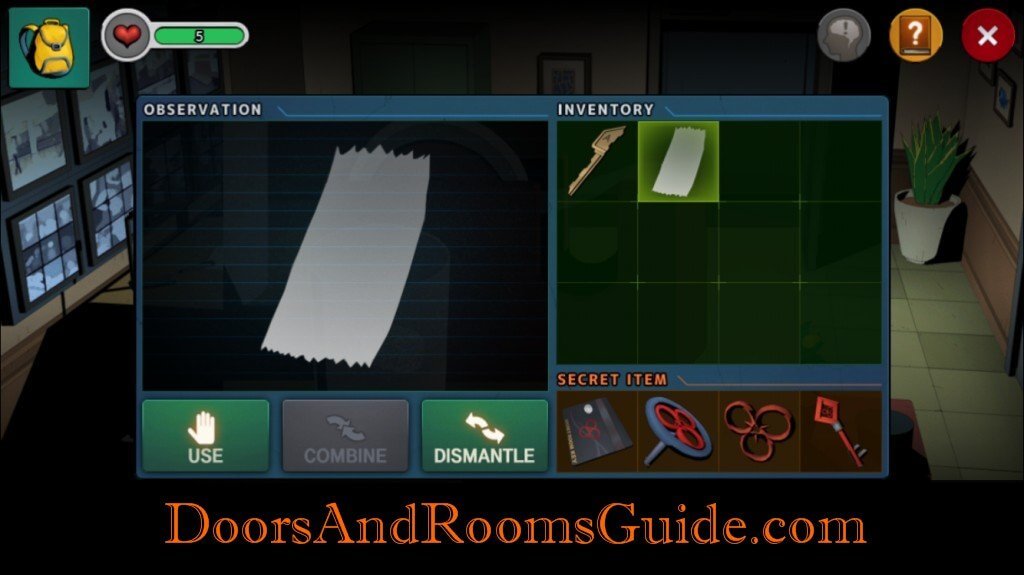
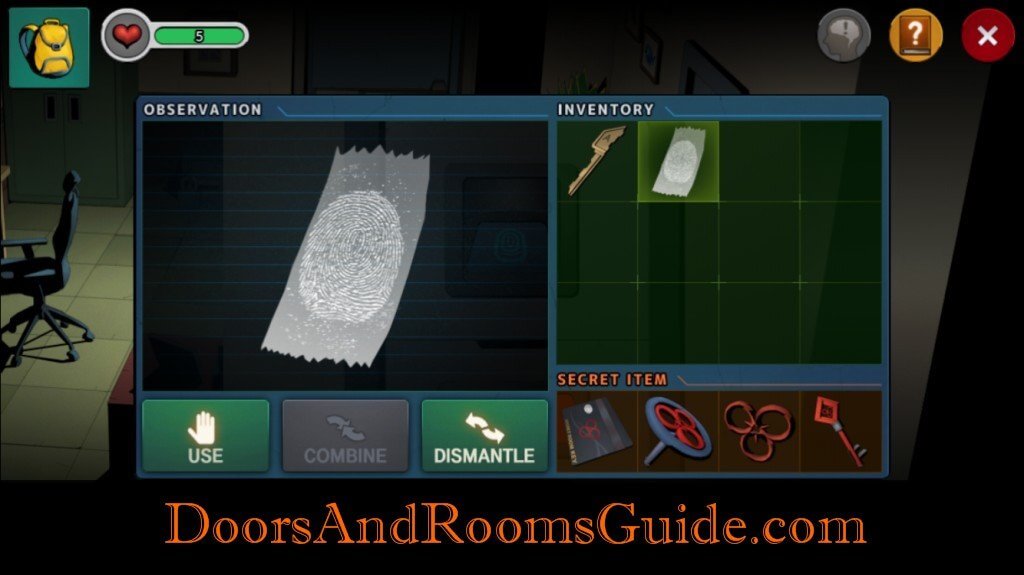
4. Fingerprint: Get a piece of tape. Combine powder and brush. Use powdered brush on the fingerprint on glass cup. The fingerprint is dusted. Use the tape to lift the fingerprint.


5. Keypad: Use fingerprint tape on the safe room keypad. Enter safe room.

6. Trashcan: Open trashcan lid. Pick up a paper with clues.

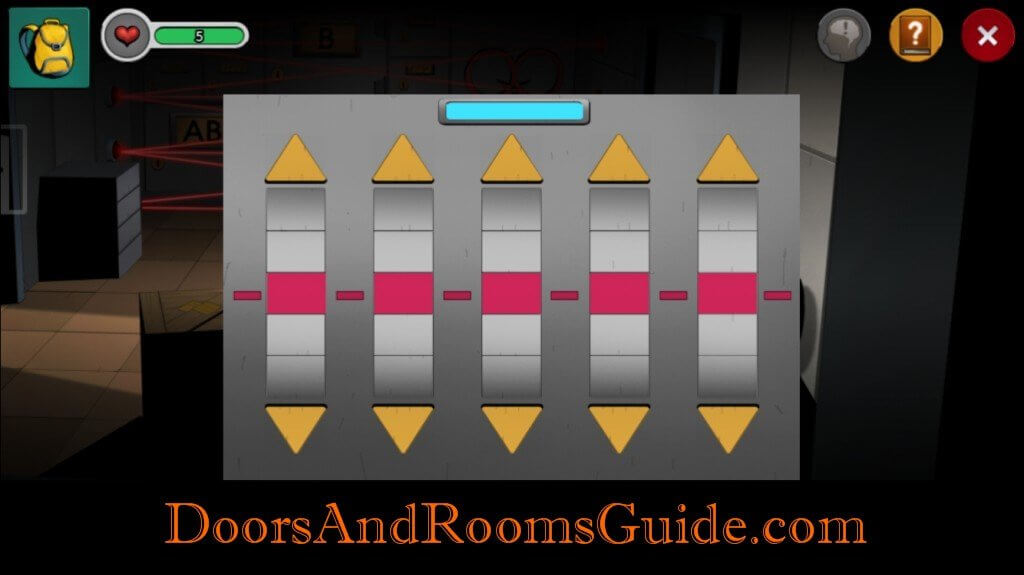
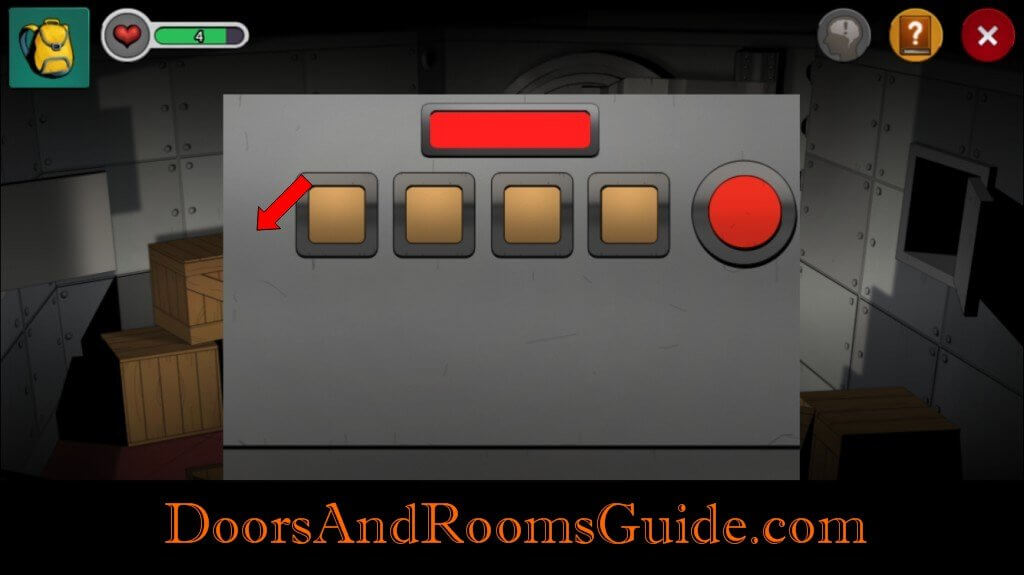
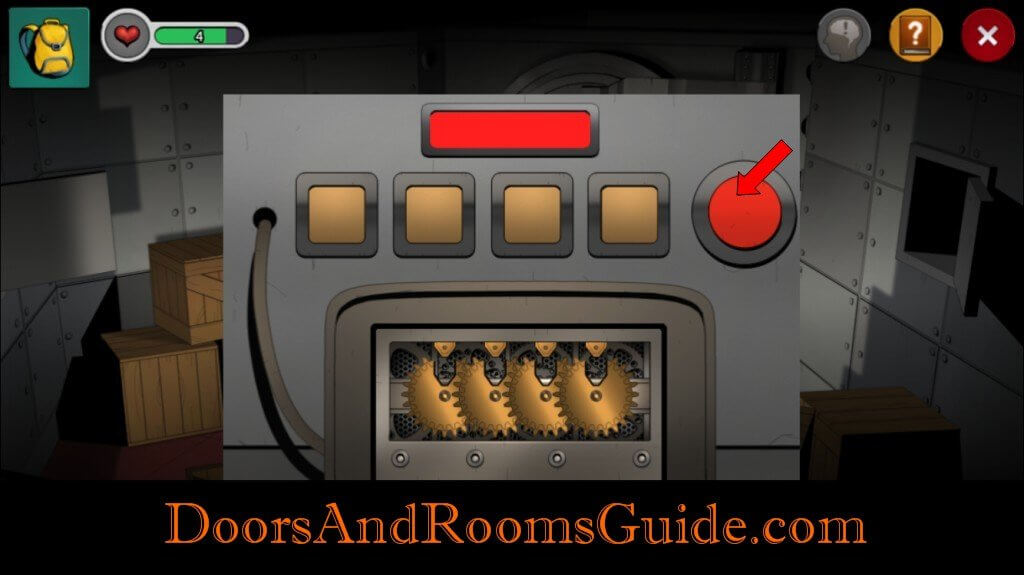
7. Vault Door: The vault door is locked. Solve the puzzle on the keypad. Enter vault room.
Puzzle Solution (Counting from left to right):
Press third down arrow once
Press first down arrow twice
Press second up arrow once
Press fifth down arrow once
Press first up arrow once

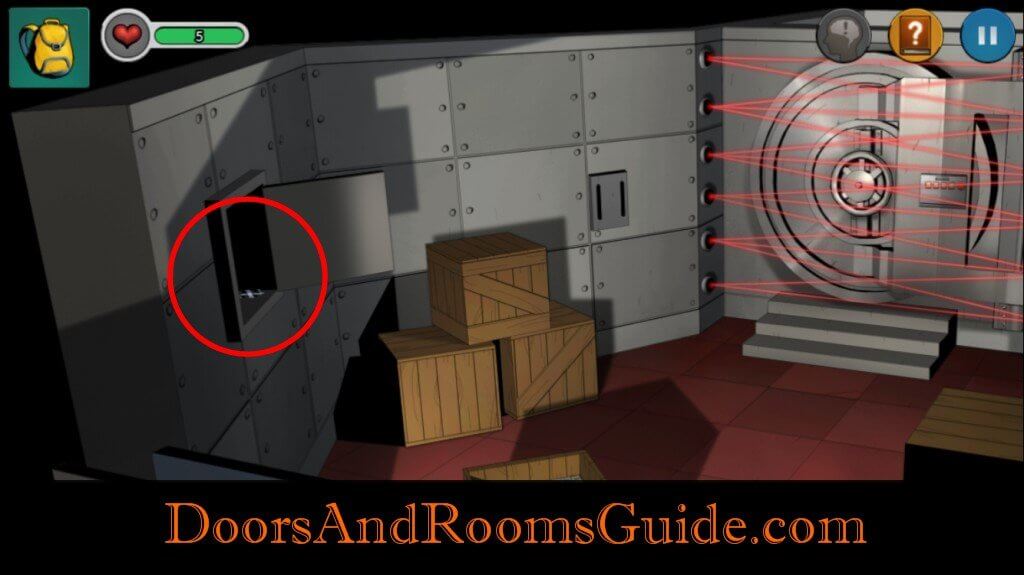
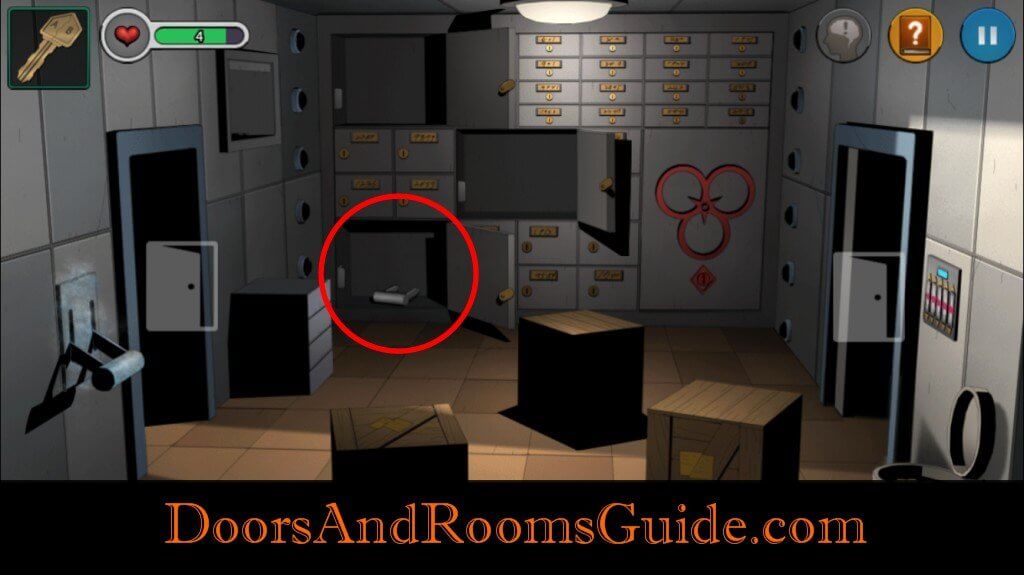
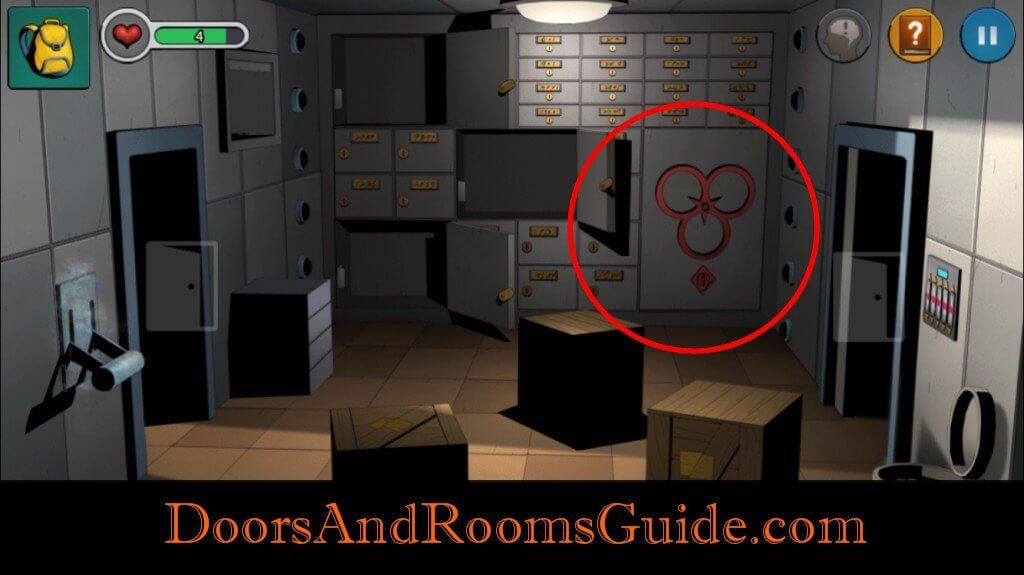
8. Drill Bit: Get drill bit from left cabinet.
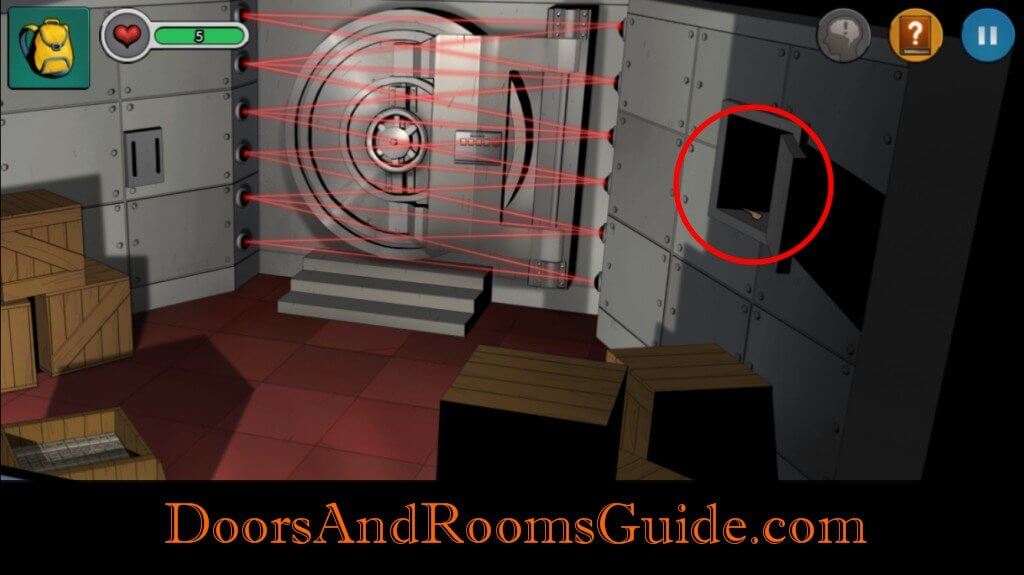
9. Key B: Grab the Key B from the right cabinet.
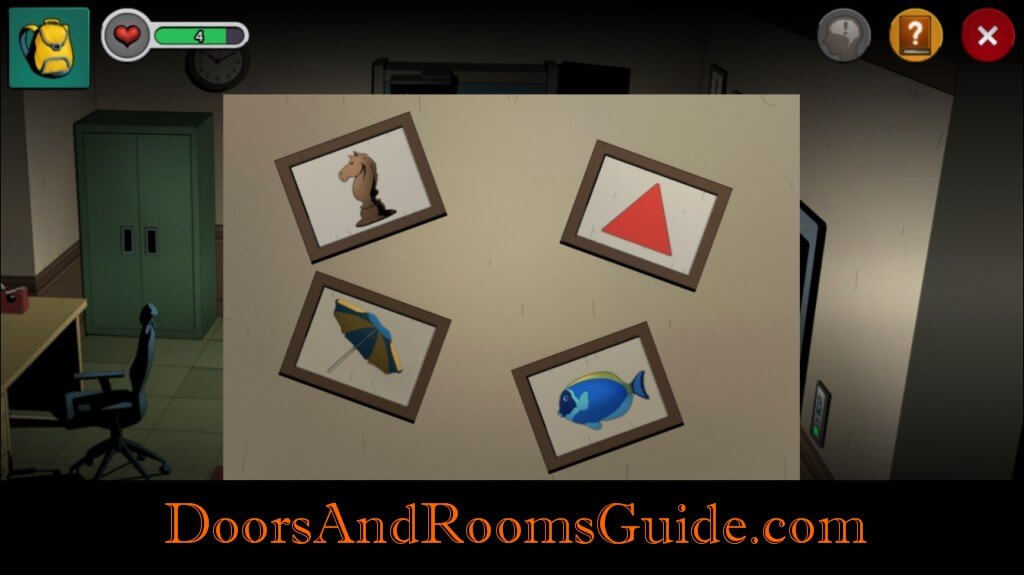
10. Wall Photographs: Go back to the security room. Check out the photographs on the wall. Align each photograph according to the clues on the paper from trashcan.

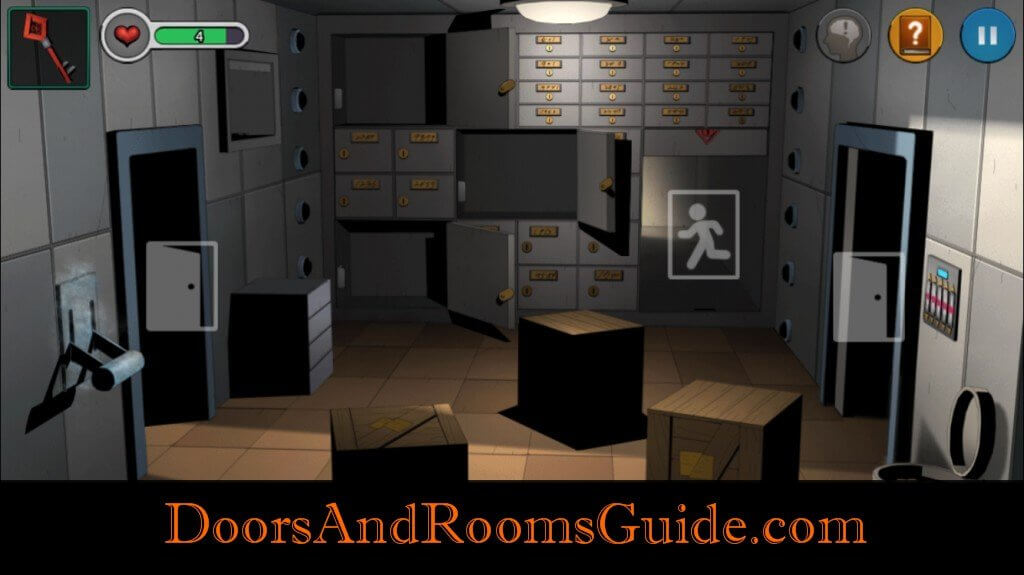
11. Coolant: Go to the safe room. Get the coolant from the wall.

12. Switch Lever: Use the coolant on the switch lever. Then pull the chilled lever. You have turned off the laser beams.

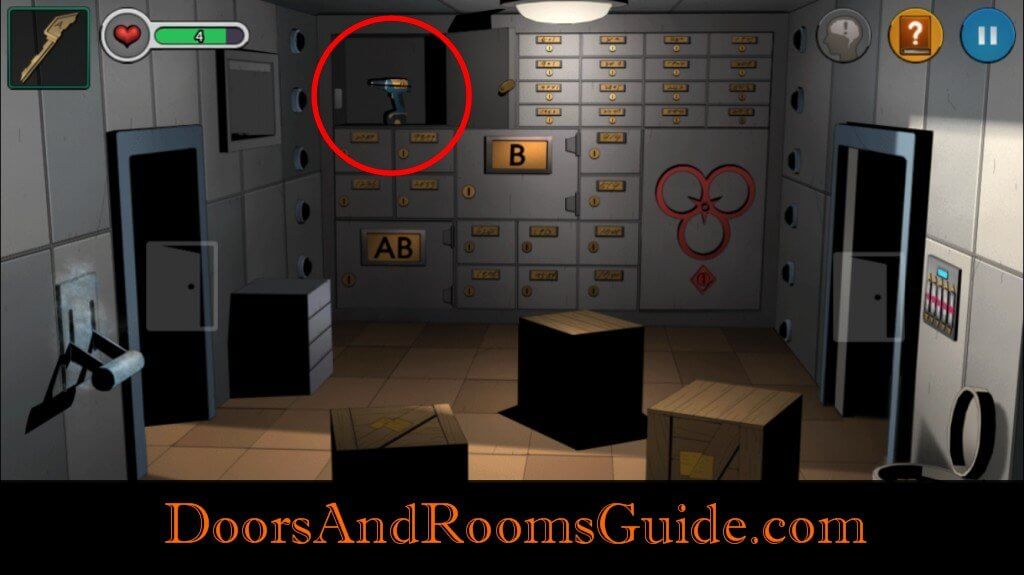
13. Safe Deposit Box A: Locate safe deposit box labeled with letter A. Use Key A to open the safe. Get a drill.

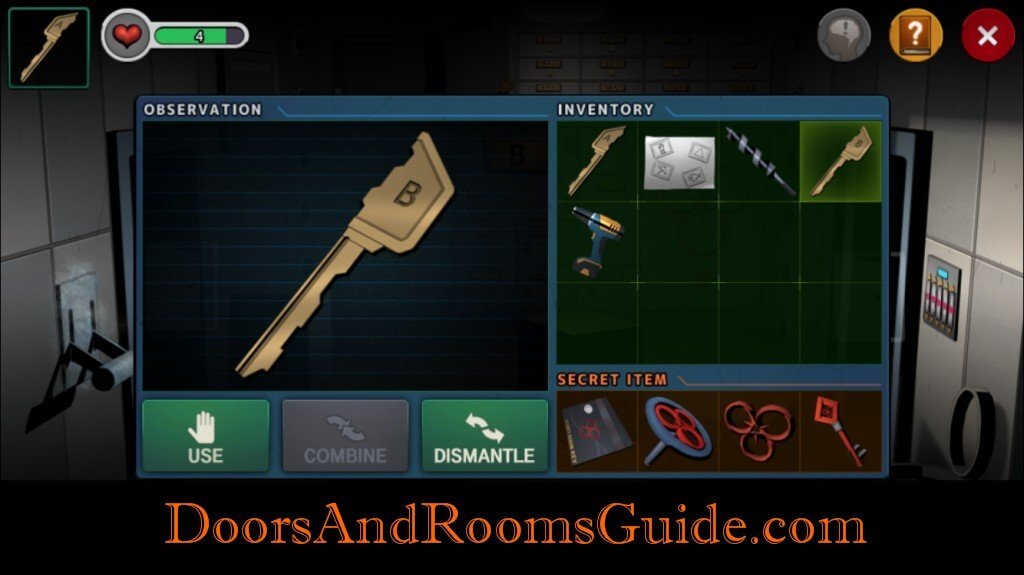
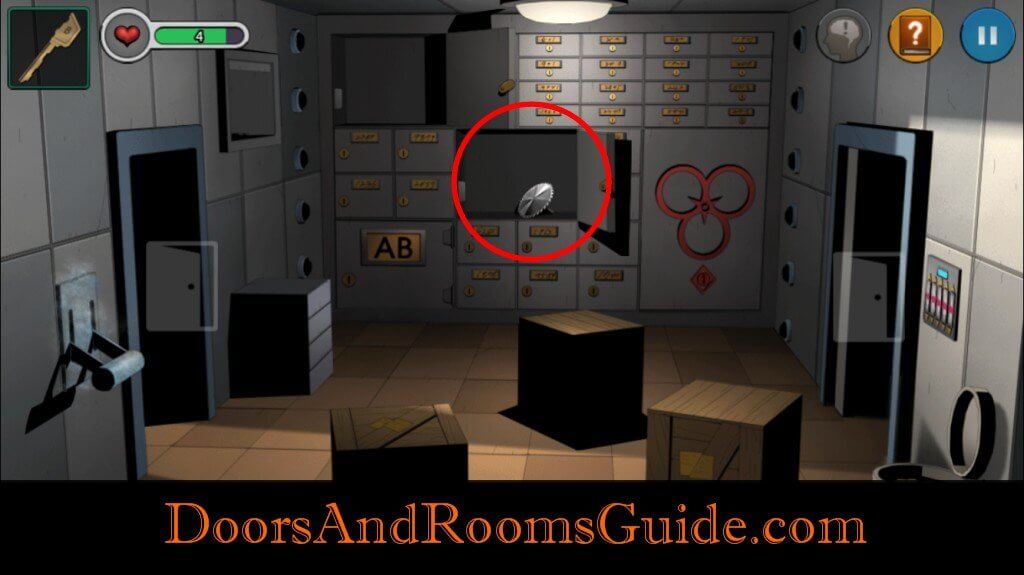
14. Safe Deposit Box B: Use Key B to unlock the safe deposit box B. Grab a saw blade.
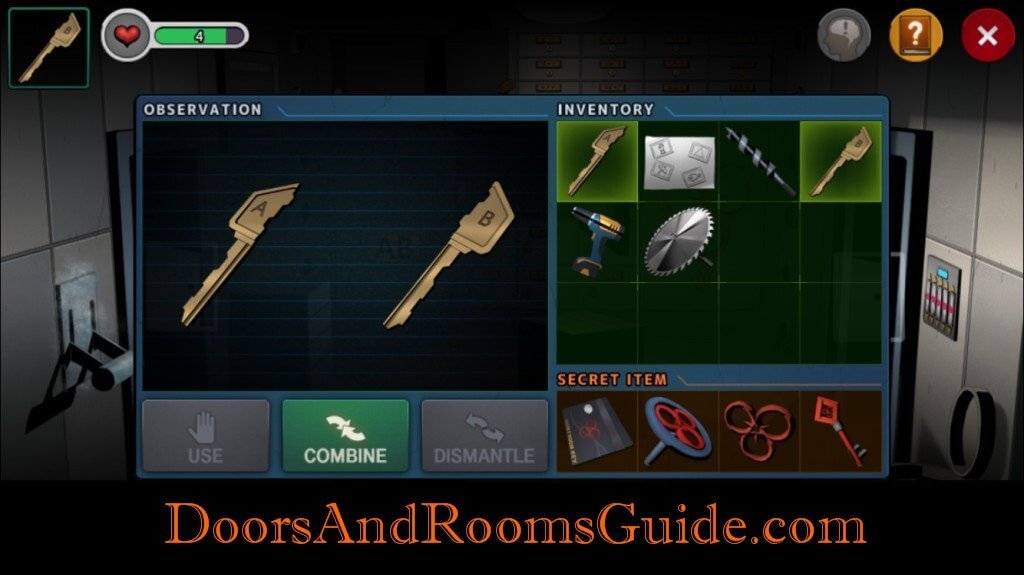
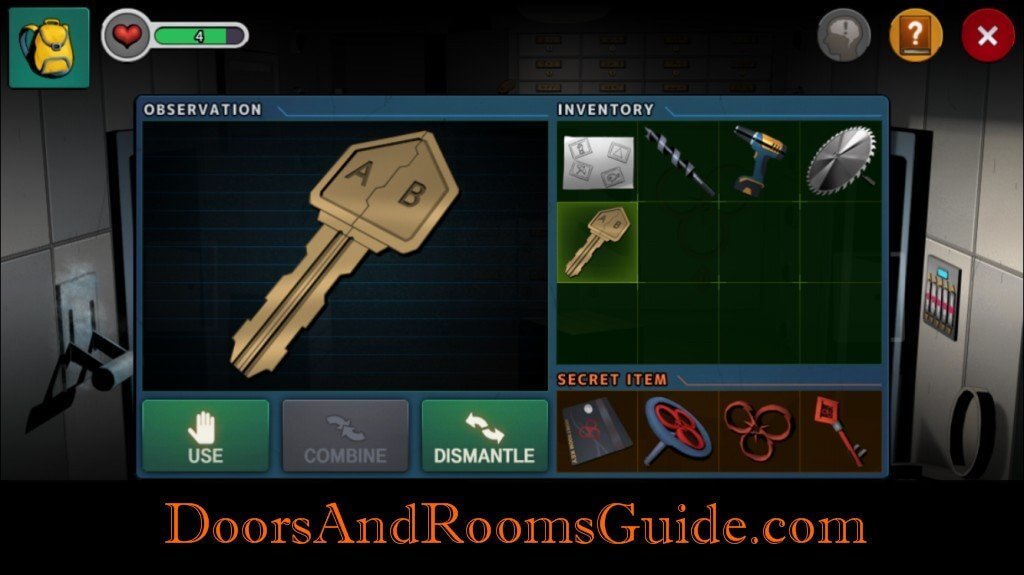
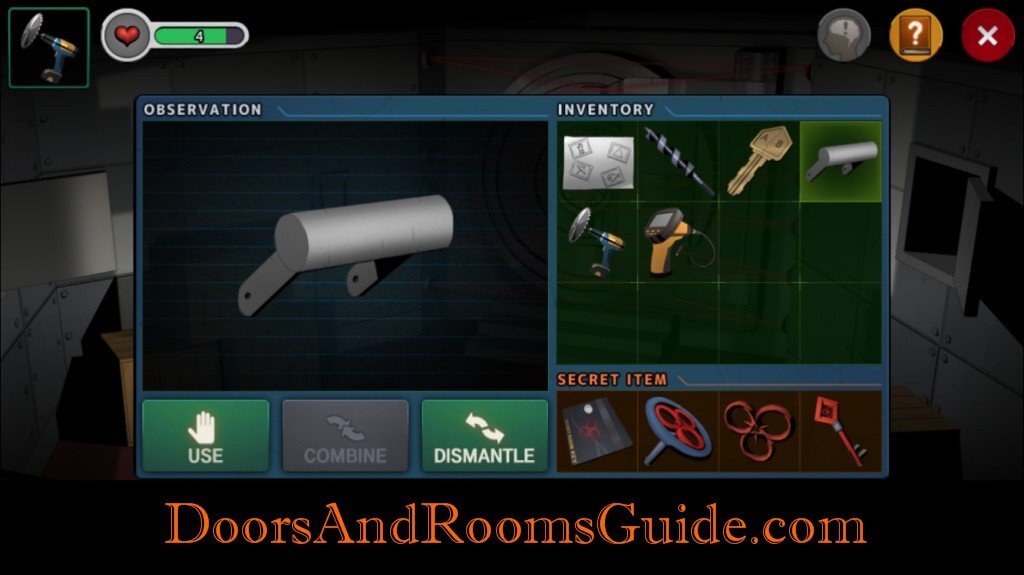
15. Safe Deposit Box AB: Combine Key A and Key B. Unlock safe deposit box AB. Retrieve a handle.
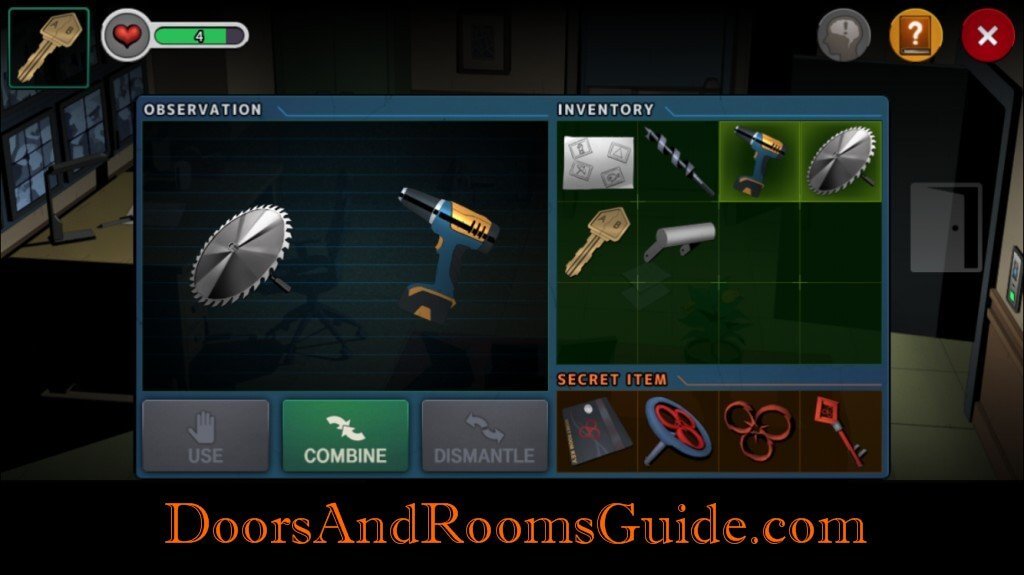
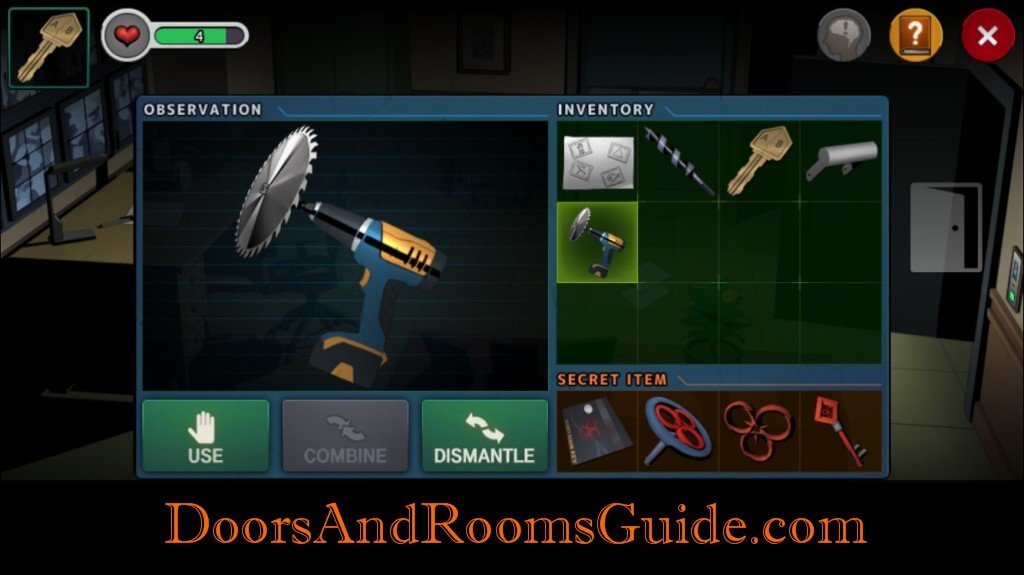
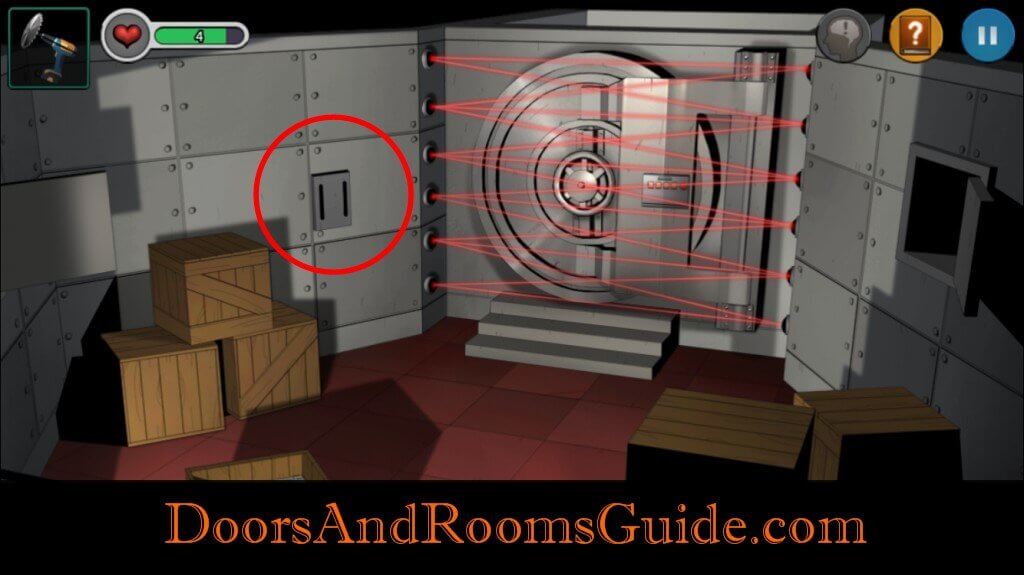
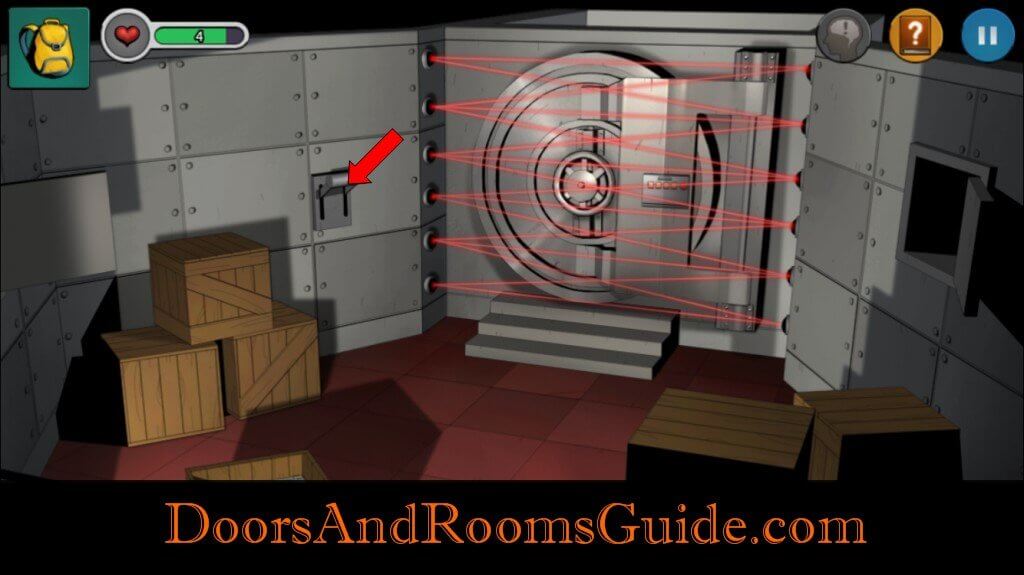
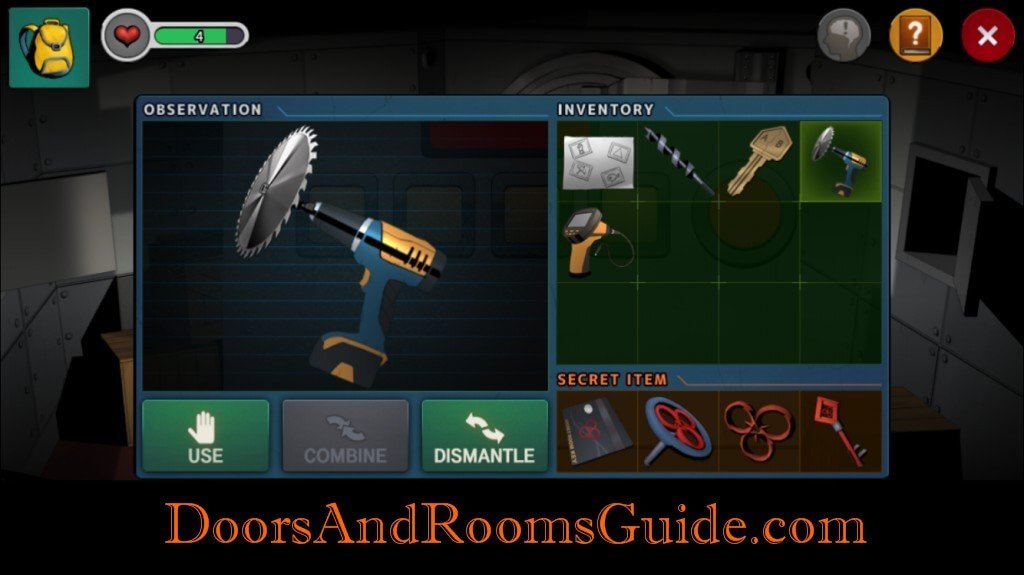
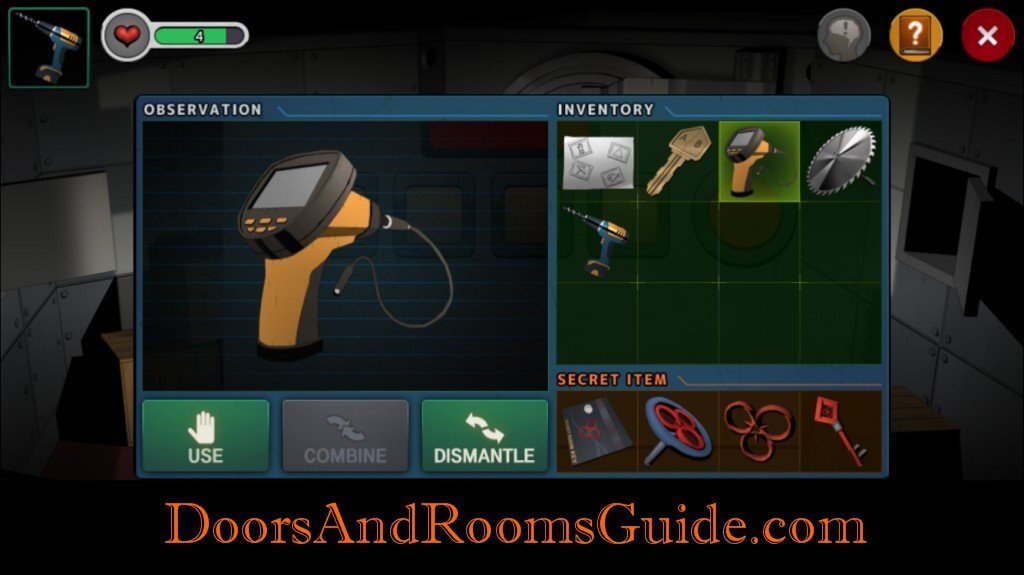
16. Pinhole Camera: Combine drill and saw blade. Use the drill on the safe box in the security room. Get a pinhole camera.


17. Laser Beam: Insert handle into the switch. Pull the handle. You have turn off the laser beam to the vault.
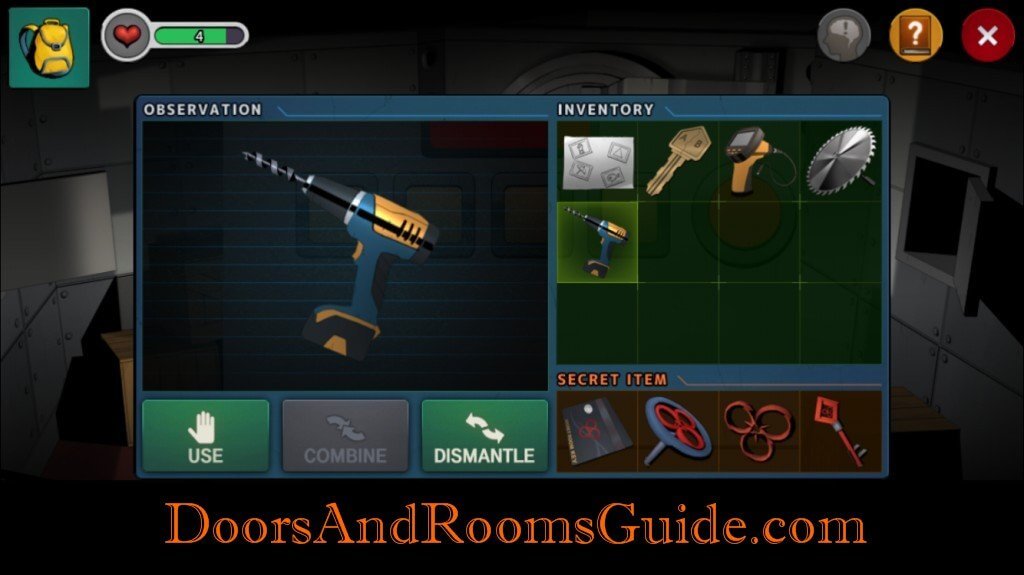
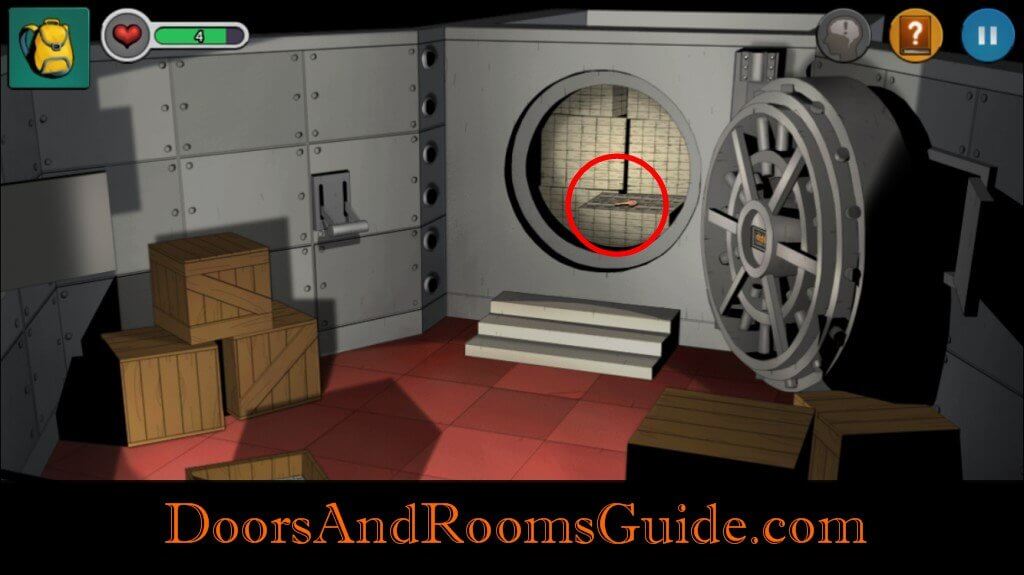
18. Vault: Dismantle the blade and drill. Combine drill bit and drill. Use the drill to make a hole on the vault lock pad. Place pinhole camera in the hole. Align the pins inside the lock. Unlock the vault. Get the door key.


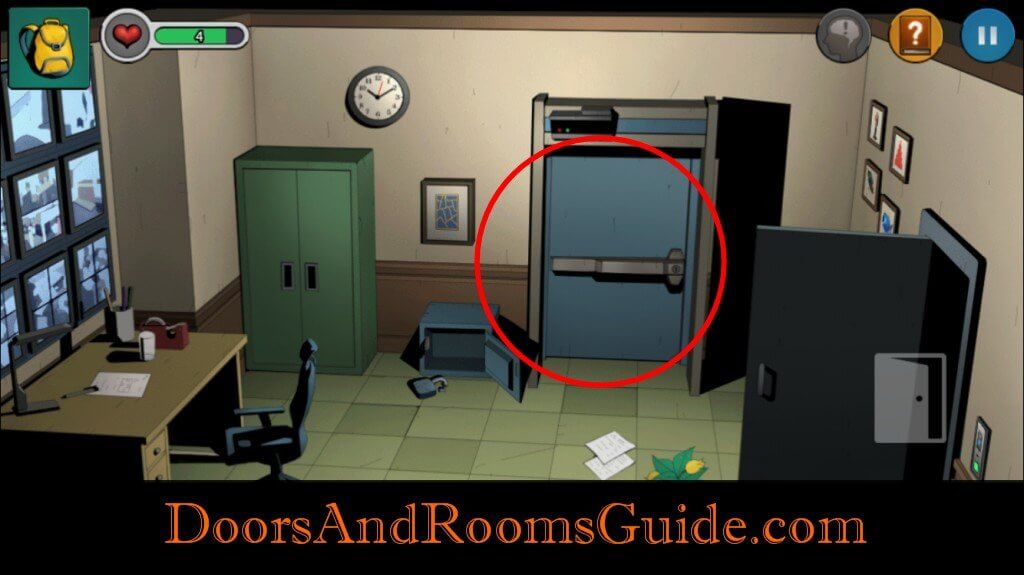
19. Door: Use the door key to unlock the front door. You have escaped!
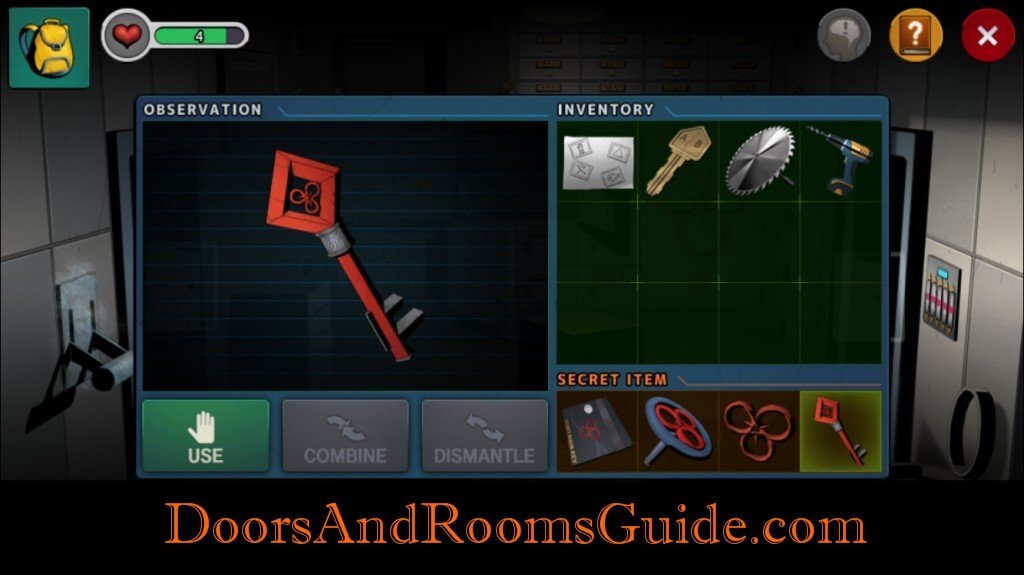
Secret Item:
S1. Before leaving the stage, go to the safe room. Locate a box with Secret symbol. Use the secret door key to unlock the door. Enter the passage. You have clear Stage 10.
Trap Warning:
1. Do not touch the laser beams in the safe room and vault room. You will get laser beamed.
2. Do not touch laser beam control switch lever. It is hot!
Where do you find the secret door key?
Good question. Where did you find secret door key?
Stage 9.
at Stage 9
You can get the secret key in Stage 9.
Donde encuentro la llave secreta???
He buscado por todas partes y no la encuentro…. -___-“
But where? I can’t find the key